That moment of dread hits when a crucial, irreplaceable interior component of your beloved car crumbles after years of sun exposure. Sourcing used replacements can be costly and time-consuming, with no guarantee against future failures. Imagine, instead, summoning a perfect replica with the push of a button, reminiscent of a Star Trek replicator.
While not quite teleportation, 3D printing brings this vision remarkably close to reality for automotive parts.
With a 3D printer and the vast resources of online open-source design databases like Thingiverse, a world of possibilities opens up for your vehicle. Consider the potential: custom cold-air intakes to boost performance, unique body modifications to personalize your ride, or specialized tools to simplify complex repairs. One enthusiast even 3D-printed a full-size hardtop for a Miata, demonstrating the boundless creativity achievable. Your imagination and 3D modeling skills are the primary limits. Even established automotive platforms like Hagerty’s Redline Rebuild series have embraced 3D printing to maintain classic cars.
The affordability of consumer 3D printers has significantly improved over the last decade. A high-quality printer, capable of producing durable car parts, is now accessible for under $300. This low entry cost makes 3D printing a valuable addition to any automotive enthusiast’s garage and fabrication toolkit. This guide will walk you through the essentials to embark on your journey into 3d Printing Car Parts.
The 3D Printer: Your Manufacturing Hub
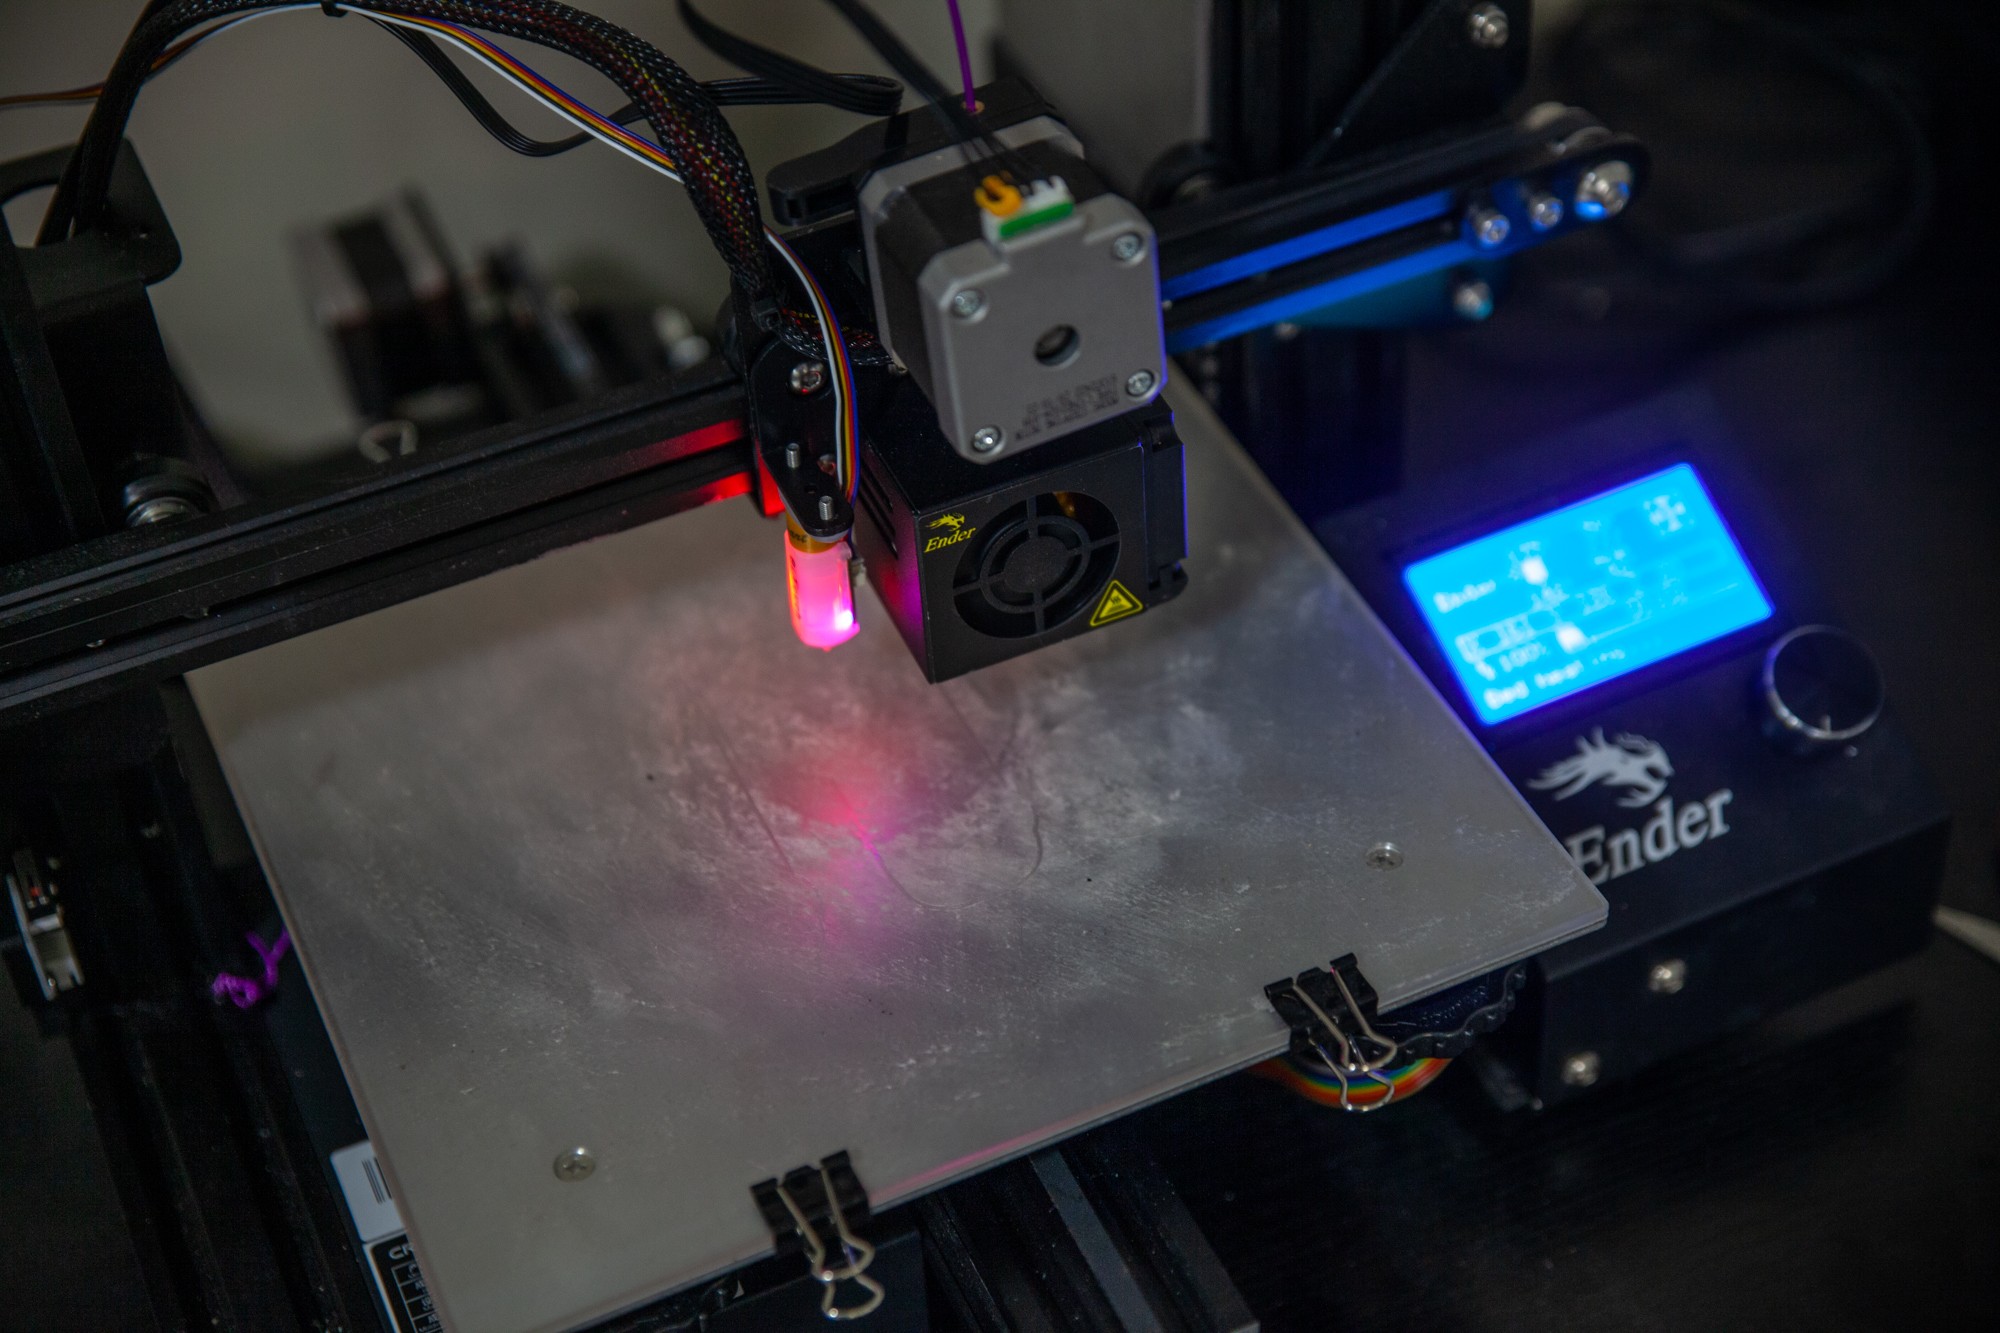
For beginners venturing into 3D printing car parts, Fused Deposition Modeling (FDM) printers stand out as the ideal starting point. This guide will primarily focus on FDM technology due to its accessibility and suitability for automotive applications.
FDM printers operate by melting plastic filament and extruding it layer by layer to build a three-dimensional object. The printer feeds a plastic filament through a heated nozzle, melting the material and depositing it precisely onto a build plate. Following the digital blueprint of your car part, the printer meticulously constructs the design layer by layer from the base up.
The FDM printer market offers a wide array of brands and models. The Creality Ender-3 has gained considerable popularity, particularly among beginners, due to its attractive price point around $200 and a vibrant, supportive online community. While assembly can be somewhat intricate, the user community provides extensive guides and troubleshooting resources, along with recommendations for upgrades. Popular upgrades for the Ender-3 include glass print beds for enhanced print surface consistency and auto-leveling sensors to simplify bed leveling.
Other reputable printers such as the Prusa Mini Plus and the Flashforge Finder 3 are excellent alternatives, often offering a more user-friendly, plug-and-play experience right out of the box. These models typically come at a slightly higher price but can be worthwhile for those prioritizing ease of setup.
Material Selection: Choosing the Right Filament
Once you have your 3D printer, the next step is selecting the appropriate printing filament. Online retailers offer a vast selection of colors and materials. For entry-level FDM printers, three plastic filament types are commonly used: PLA (Polylactic Acid), ABS (Acrylonitrile Butadiene Styrene), and PETG (Polyethylene Terephthalate Glycol-modified). Each possesses distinct characteristics, advantages, and disadvantages for 3D printing car parts.
PLA is an excellent choice for initial prototypes and mock-ups. It is readily available, inexpensive (around $20 per 1kg roll), and user-friendly for printing. However, PLA’s limitations lie in its poor resistance to heat and UV exposure, making it unsuitable for under-hood or exterior automotive applications that endure high temperatures or direct sunlight.
ABS filament presents a more robust option with superior heat and wear resistance, making it suitable for many automotive components. It is also comparably priced to PLA. The primary challenge with ABS is its tendency to warp and shrink during cooling, requiring more controlled printing conditions.
PETG strikes a balance between PLA and ABS. It is easier to print than ABS while offering enhanced strength and durability compared to PLA. This makes PETG a versatile material for a range of car parts. As expected, PETG typically comes at a higher cost than PLA, reflecting its improved performance characteristics.
For specialized automotive applications demanding even greater strength and temperature resistance, consider exploring filaments like Nylon or carbon fiber composites. These advanced materials require printers with higher temperature capabilities and offer exceptional performance for demanding car parts.
Finding and Designing Your Car Parts
With the hardware and materials in place, you need digital designs to print. Thingiverse is an excellent starting point – a vast online repository offering countless free downloadable 3D models. GrabCAD and Thangs are also valuable platforms for finding car part designs. If you own a popular vehicle like a Miata or BMW 3 Series, you’ll likely find a wide array of printable parts, including door panel repair kits, brake cooling ducts, pedal spacers, cupholders, and shifter trim components.
If pre-existing designs for your specific car or part are unavailable, you’ll need to embark on 3D modeling yourself. Fortunately, numerous free 3D modeling programs and online tutorials are available. Fusion 360, offered free for personal, non-commercial use, is a highly recommended software for beginners. Learning 3D design skills expands your 3D printing capabilities immensely, freeing you from reliance on pre-made designs and enabling you to create truly custom automotive solutions.
The 3D Printing Process: From Design to Reality
Before initiating a print, your 3D model needs translation into GCODE, a language understood by 3D printers. This is where slicer software comes in. Slicer programs, such as Cura, are installed on your computer. You import your 3D model into the slicer, specify your filament type, and adjust print settings to fine-tune print quality and speed. The slicer then processes the model and generates the GCODE file. This GCODE file is transferred to your printer via SD card or USB cable, ready to bring your digital design to life.
Successful 3D printing involves several key considerations. Ensure proper bed adhesion to prevent warping, optimize temperature settings for your chosen filament, adjust print speed for desired quality, and utilize support structures when necessary for overhanging parts of your design. Post-processing steps, such as removing support material and sanding printed parts, can further refine the final product. Painting and finishing techniques can also be applied to achieve the desired aesthetic and durability.
Witnessing a car part you designed materialize from digital form is a rewarding experience. 3D printing offers a compelling solution for creating custom automotive components, often at a fraction of the cost and effort of traditional methods, empowering you to keep your vehicles running and personalized. Embrace the world of 3D printing and unlock a new realm of automotive creativity.