Is your OBD2 port feeling loose on your 2004 Mazda RX8? A wobbly OBD2 port can be more than just an annoyance; it can prevent you from properly diagnosing your vehicle’s issues. If you’re experiencing this problem, you might be relieved to know it’s a fix you can tackle yourself. This guide will walk you through the steps to secure that loose OBD2 port and ensure a reliable connection for your diagnostic tools.
Tools You’ll Need
Before we get started, gather these simple tools:
- Small Probe or Pick Set (bent probes are especially helpful)
- Small Bent Nose Pliers (optional, for reassembly)
Step-by-Step Guide to Fixing a Loose OBD2 Port
Follow these steps to tighten up your 2004 Mazda RX8’s OBD2 port.
Step 1: Removing the OBD2 Port from the Bracket
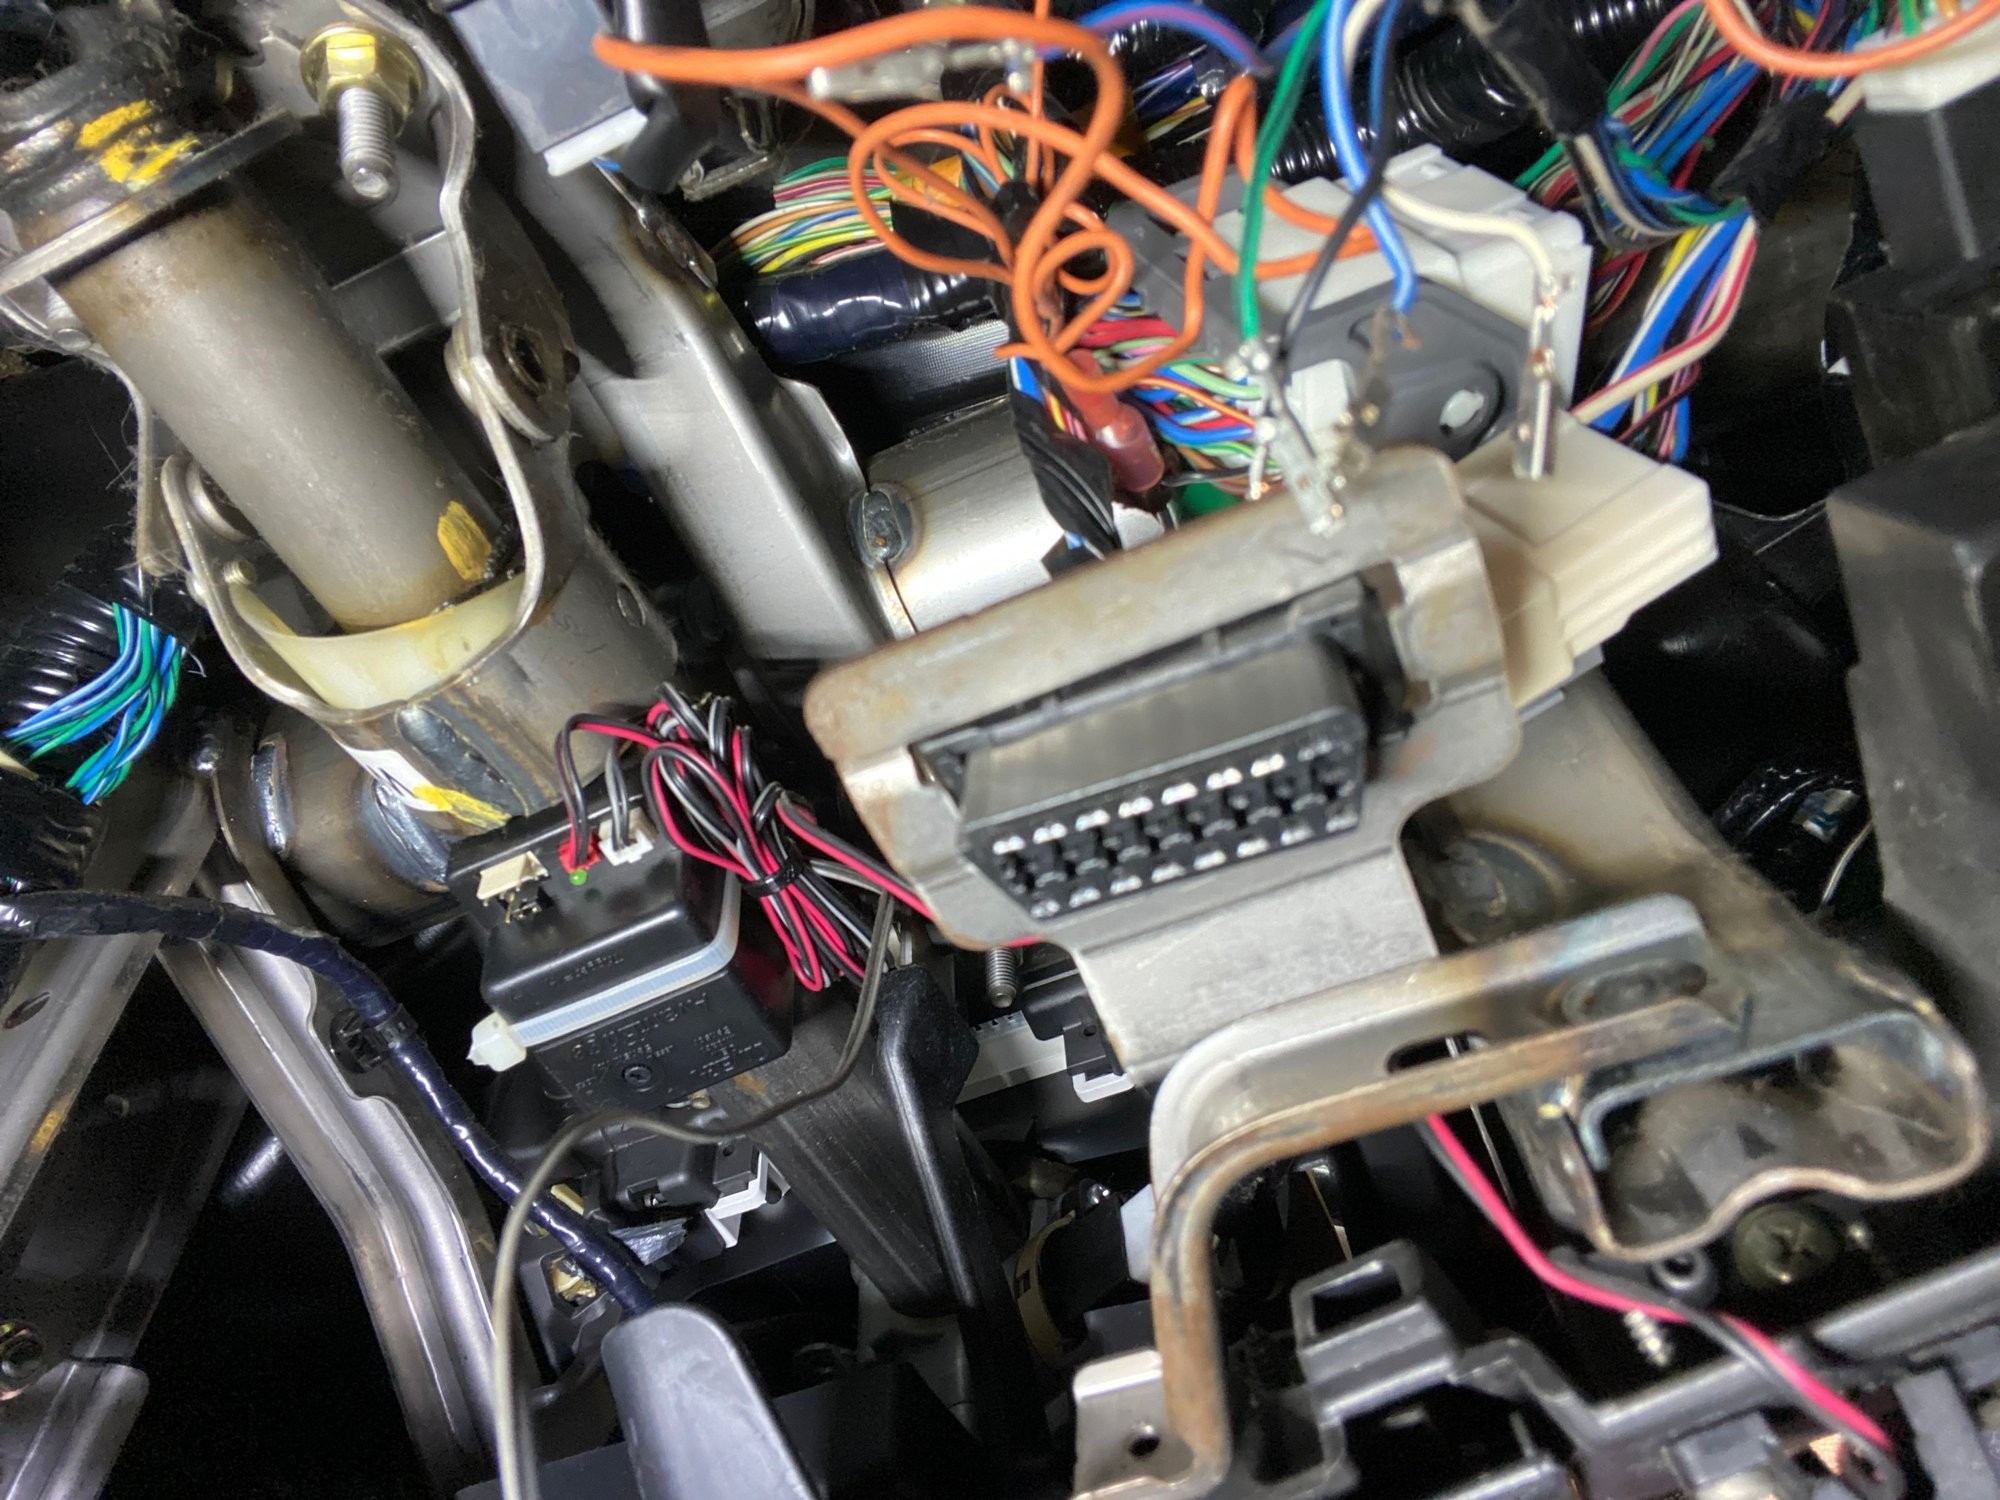
The first step is to detach the OBD2 port from its mounting bracket. On your 2004 Mazda RX8, the OBD2 port is held in place by a sheet metal bracket. To remove it, you’ll need to locate two plastic tabs on the sides of the port.
To release the port, push in these plastic tabs. A helpful trick is to push the port slightly to one side against the bracket, then press the tab on the opposite side. This should free one side, allowing you to then release the other tab and push the entire port upwards and out of the bracket.
Step 2: Accessing the Wires
Once the OBD2 port is free from the bracket, you’ll see the back side where the wires are connected. Before proceeding, it’s a good idea to take pictures or notes of the wire colors and their positions. This will be useful during reassembly.
Next, you need to remove a white plastic piece that secures the wires. This retainer clip needs to be popped out to allow access to the individual wire terminals.
Use your probe to gently push the white plastic bracket upwards. The end of this white tab is typically tucked under a black tab, so ensure your probe goes underneath to fully release it. With the white piece removed, you can now access the individual wires and connectors.
Step 3: Re-tensioning the Terminals
Now comes the crucial step to fix the looseness. Each wire is held in the OBD2 port connector by a small plastic tab. To release a wire, insert a small probe into the port from the front side. You’ll need to push on this small plastic tab to free the wire terminal. When you’ve pressed the tab correctly, you’ll feel the wire release slightly. Avoid forcing it.
The issue with a loose OBD2 port often lies in the internal metal tabs within the connectors. These tabs, which make contact with the pins of your OBD2 scanner, can become bent outwards over time, leading to a poor connection and a loose feel.
To fix this, you need to re-bend these internal tabs inwards to increase tension. Use your probe and carefully insert it into the connector, underneath the metal tab. Push the probe all the way in to reach the bend in the metal. Gently push upwards to re-bend the tab slightly inwards. This will improve the contact when the OBD2 connector is plugged in.
Repeat this process for each wire terminal in the OBD2 port.
Step 4: Reassembly
Once you’ve re-tensioned all the terminals, carefully push each wire back into its original position in the OBD2 port. You should feel a click as the terminal locks back into place. Again, avoid forcing anything. If a wire is difficult to insert, small bent nose pliers can be helpful to guide it, but be extremely careful not to bend the wire near the crimped area, as this could damage the connection.
After all wires are securely back in place, re-install the white plastic retainer clip to secure the wires. Finally, push the OBD2 port back into the sheet metal bracket until it clicks into place.
Conclusion
By following these steps, you should have successfully tightened up the OBD2 port on your 2004 Mazda RX8. This simple fix can save you from potential diagnostic headaches and ensure a reliable connection when you need to use your OBD2 scanner. While this repair is effective, it’s worth noting that it’s a temporary fix. Ideally, replacing the entire OBD2 port and terminals would be a more permanent solution. However, this method is a cost-effective and quick way to address a common issue. Consider sourcing a new OBD2 port and terminals for a future, more permanent repair if the issue recurs.