Many Nissan Leaf owners appreciate the vehicle’s eco-friendly design and efficiency, but some may find certain features lacking compared to higher trim models. One common desire is for illuminated vanity mirrors, a feature often omitted in base models. If you’re looking to enhance your Nissan Leaf without breaking the bank, consider this simple DIY upgrade using cheap car parts from a Nissan Sentra 2017. This guide will walk you through installing a lighted sun visor, significantly improving interior convenience, especially for passengers who appreciate a well-lit mirror.
This project leverages the fact that some Nissan models share components, allowing for cost-effective upgrades. The 2014-generation Nissan Sentra, for instance, uses sun visors that are remarkably similar to those in the Nissan Leaf, but with the added benefit of integrated lights in higher trim levels. By sourcing a used set of Sentra lighted sun visors – a readily available and cheap car parts option – you can bring a touch of luxury and practicality to your Leaf’s interior.
Step-by-Step Guide to Installing a Sentra Lighted Sun Visor in Your Nissan Leaf
This installation is straightforward and requires basic tools and minimal electrical knowledge. Follow these steps to add this convenient feature to your Nissan Leaf using cheap car parts.
1. Removing the Original Sun Visor Covers
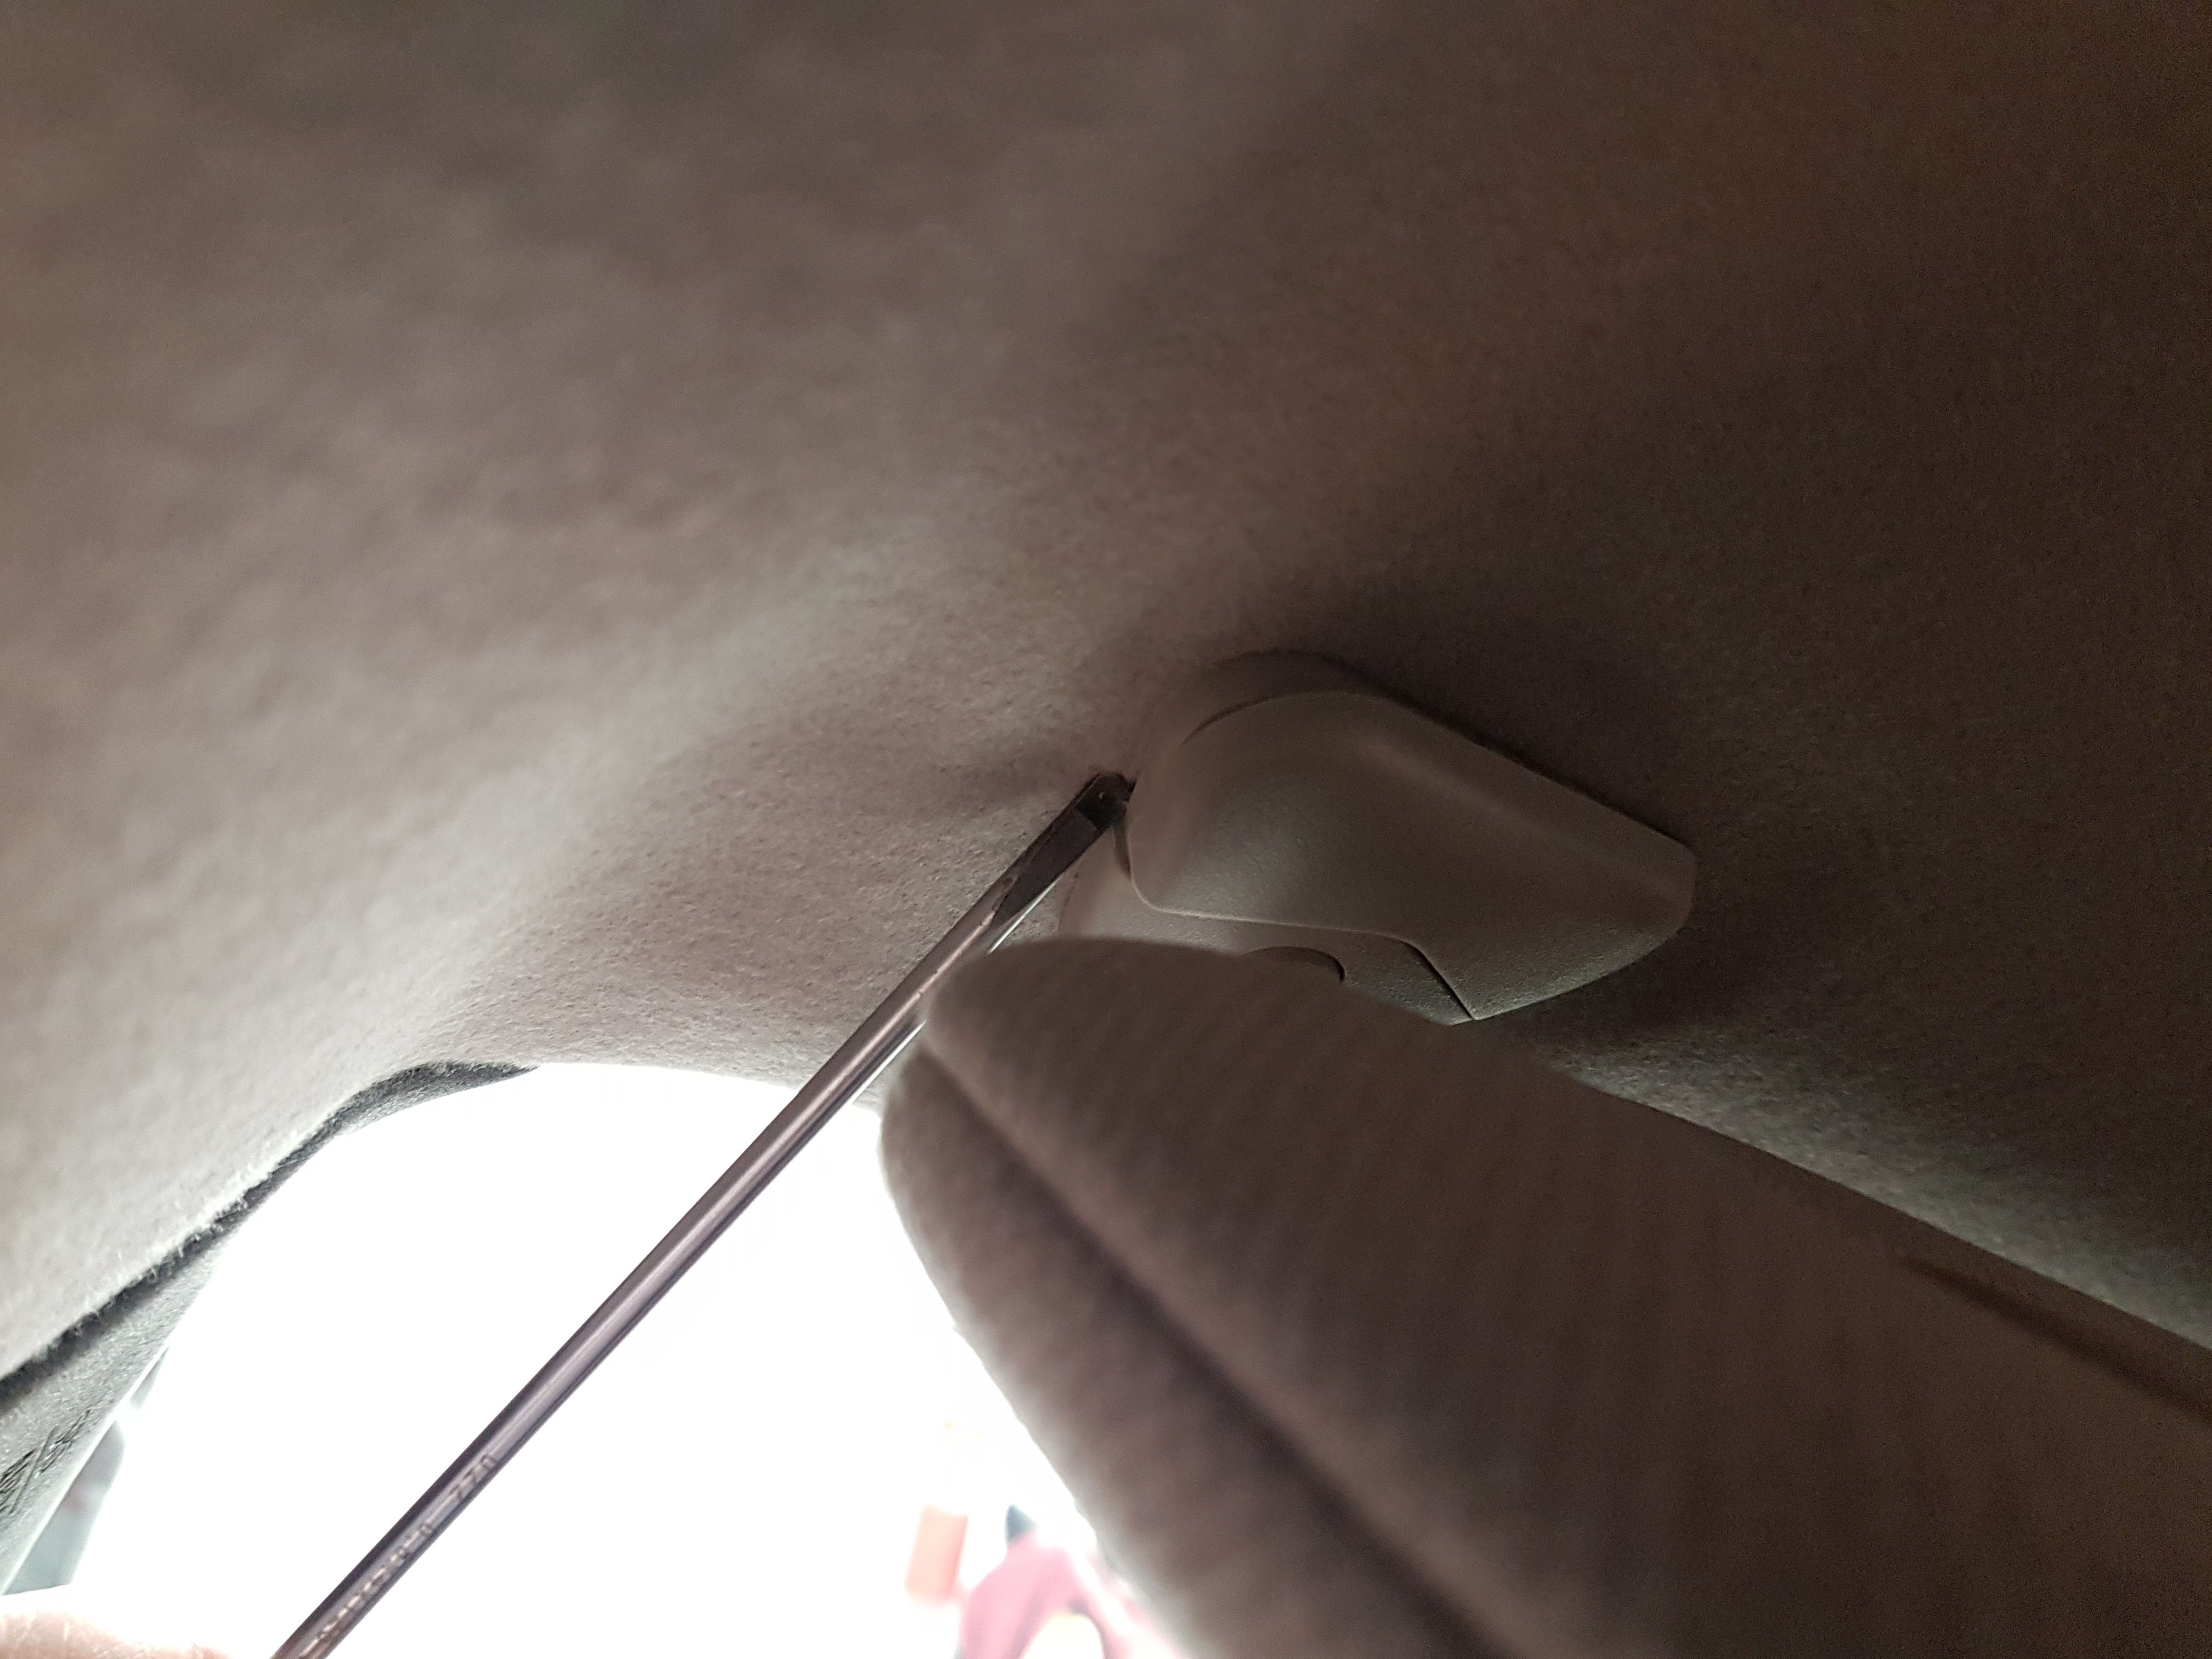
The first step involves accessing the mounting screws of your existing sun visors. This is done by carefully removing the small plastic covers that conceal these screws. The covers are held in place by tabs. Using a small flathead screwdriver, gently push down and towards yourself on the cover. This action will release the tabs, allowing you to pry the cover off without damage.
2. Preparing the Sentra Sun Visors for Wiring
The Sentra sun visors, being cheap car parts sourced from another vehicle, will likely come with their original wiring connectors. Since we’re integrating them into the Leaf’s electrical system, it’s easiest to remove these connectors. Simply cut off the plugs from the Sentra visors. We will be using crimp connectors to directly wire them into the Leaf’s overhead console. This method ensures a secure and reliable connection.
3. Accessing the Map Light Module
To power the new lighted sun visors, we’ll tap into the power source for the map lights located in the overhead console. To access this module, gently pull down on the center sunglasses holder/map light module. It is held in place by clips and will pop off with a firm, even pull.
4. Routing Wires for the Lighted Visors
Routing the wires from the overhead console to the sun visor mounting points can be a bit tricky. Ideally, you’d run the wires through the roof beam, but you might find it blocked. A simpler approach is to carefully run the wire just above the headliner. Run two wires to each visor mount location – one for power and one for ground. Connect these wires to the wires from the Sentra visors. Polarity isn’t critical for these lights, but for consistency, you can connect red wire to the white wire from the visor and black wire to the black wire.
The key challenge is getting the wires into the visor mount. The wire needs to enter from the side where the visor attaches. You’ll find a small cutout in the metal visor mount. Carefully slide the wires through this cutout, ensuring they aren’t pinched excessively. For added protection against chafing, wrap the wires with electrical tape where they pass through the metal.
5. Connecting to Power in the Map Light Module
Locate the larger of the two plugs in the map light module cavity. This plug provides constant 12V power and ground. Identify the yellow wire (constant 12V) and the black wire (ground). Wire the sun visors to these connections. Crimp connectors are ideal for making secure and easily reversible connections.
6. Final Assembly and Clean Up
Once all wiring is complete and tested, carefully tuck the wires and crimp connectors neatly into the overhead console cavity. Use electrical tape to bundle the wires and secure the connections, ensuring a clean and professional finish. Reinstall the map light module by simply pushing it back into place until it snaps in securely. Finally, test the lighted sun visors to confirm they are working correctly.
By following these steps, you’ve successfully upgraded your Nissan Leaf with lighted vanity mirrors using cheap car parts from a Nissan Sentra 2017. This simple modification enhances the functionality and feel of your vehicle’s interior without significant expense, proving that even small upgrades can make a big difference.
