Replacing the clutch was a critical repair for my car. The first thing on my mind was figuring out the best Clutch Car Part options. Since I wasn’t planning on significantly boosting the engine’s power, I didn’t need a high-performance racing clutch. Luckily, I found a great deal on the RS25 forums: a used ACT Streetlite Flywheel and Exedy Stage 1 Organic Clutch. The seller claimed they only had about 5,000 to 10,000 miles of use, and for just $300 shipped for both, I decided it was worth the risk.
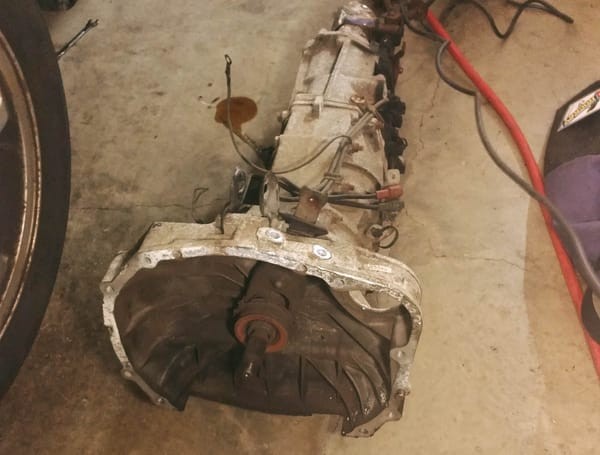
The first step was removing the transmission. This involved taking off the exhaust, drive shaft, and transmission crossmember. Separating the transmission from the engine was quite challenging, requiring some effort to pry them apart. Once disconnected, I used a jack to carefully lower and remove the transmission from under the car.
After removing the transmission, I immediately noticed the throwout bearing was in bad shape. It felt rough, was full of grime, and was sticking as I moved it back and forth. Next, I removed the pressure plate to inspect the clutch and flywheel. The flywheel seemed to be in good condition, but the pressure plate showed noticeable burn marks.
While examining the transmission further, I spotted a significant leak coming from the shifter rod seal. Consulting my factory service manual, I checked the procedure for replacing this seal. It turned out I needed to remove the transmission extension and the center differential housing. Without hesitation, I started taking it apart.
In no time, I had it disassembled. I was impressed by the overall condition of the transmission’s internals. Even with 205,000 miles, I didn’t find any metal shavings or broken components. It was surprisingly clean for its age!
Upon closer inspection of the shifter rod seal area, I discovered that the leaking seal had caused another issue. Moisture had entered the transmission, leading to rust on the main shaft rear plate, which sits next to the seal. This made me realize that what seemed like a minor seal replacement was actually crucial for preventing more serious problems.
I carefully sanded the rust off the main shaft rear plate by hand. I made sure not to remove too much material because the thickness of this clutch car part is critical. It acts as a spacer to support the transmission’s main shaft extension, and comes in 5.50mm and 5.63mm sizes to accommodate variations in bearing protrusion. Maintaining the correct thickness is essential.
After reinstalling the cleaned main shaft rear plate and thoroughly cleaning the transmission housing, I installed the new shifter rod seal and began reassembling everything. While tightening the extension case bolts to the specified torque, my 3/8″ torque wrench unfortunately broke, snapping one of the long bolts. This meant taking it all apart again to remove the broken bolt – definitely a late-night frustration!
Since I didn’t have a clutch alignment tool on hand, I ordered one online. A few days later, once the tool arrived, I was able to install the new clutch and flywheel.
Stay tuned for the next part, where I’ll be working on the brakes, including removing the ABS system and upgrading the rotor sizes.
Please subscribe and follow our YouTube channel for in-car racing videos!
