Want to bring your car’s diagnostics right into your smart home ecosystem? With Home Assistant Obd2 integration, you can monitor real-time data from your vehicle directly within your Home Assistant dashboard. This opens up a world of possibilities for automation, monitoring, and deeper insights into your car’s performance.
This guide will walk you through the process of connecting your car’s On-Board Diagnostics (OBD2) system to Home Assistant. We’ll explore how to leverage devices like WiCAN and utilize the power of MQTT and Node-RED to seamlessly integrate your car’s data.
Understanding OBD2 and CAN Bus for Smart Homes
Modern vehicles are equipped with an OBD2 port, a standardized interface that provides access to a wealth of diagnostic and performance data via the Controller Area Network (CAN bus). This data includes everything from engine temperature and fuel levels to speed and diagnostic trouble codes.
By tapping into this data stream and connecting it to Home Assistant, you can:
- Monitor Vehicle Health: Keep an eye on critical parameters like engine temperature, battery voltage, and fuel levels, receiving alerts for any anomalies.
- Create Smart Automations: Trigger actions in your smart home based on car events. For example, automatically open your garage door as you approach home, or turn on lights when you start your car in the morning.
- Track Fuel Efficiency: Monitor fuel consumption and driving habits to optimize for better mileage.
- Receive Diagnostic Alerts: Get notified of potential issues early by monitoring diagnostic trouble codes, allowing for proactive maintenance.
WiCAN: A Bridge for OBD2 to Home Assistant
Devices like WiCAN act as a crucial bridge to bring OBD2 data into your Home Assistant setup. WiCAN is designed to communicate with your car’s CAN bus and transmit this data wirelessly using MQTT (Message Queuing Telemetry Transport), a lightweight messaging protocol ideal for IoT devices and Home Assistant.
The following steps outline how to set up WiCAN to send OBD2 data to your Home Assistant instance:
Prerequisites:
- Home Assistant Installation: Ensure you have Home Assistant up and running.
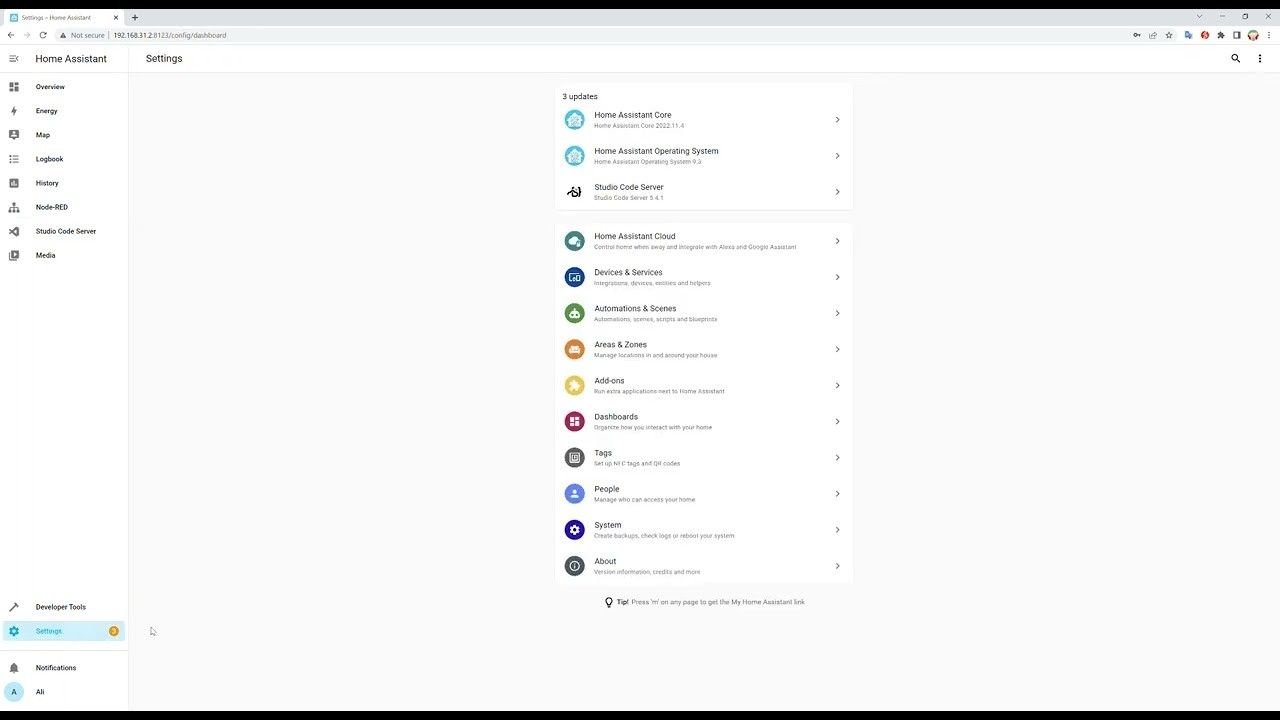
- Mosquitto Broker Add-on: Install the Mosquitto Broker add-on in Home Assistant. This MQTT broker will facilitate communication between WiCAN and Home Assistant.
- Node-RED Add-on: Install the Node-RED add-on in Home Assistant. Node-RED provides a visual flow-based programming environment that simplifies the creation of automations based on MQTT messages.
- WiCAN Device: You’ll need a WiCAN device configured for your vehicle’s CAN bus.
Step-by-Step Integration Guide:
-
Create a Dedicated Home Assistant User for WiCAN: For security and management, create a new user account in Home Assistant specifically for WiCAN’s MQTT access. Note down these credentials.
-
Connect to WiCAN Access Point: Power up your WiCAN device and connect to its Wi-Fi access point (usually named
WiCAN_xxxxxxxxxxxx). -
Access WiCAN Configuration Portal: Open a web browser and navigate to
http://192.168.80.1/. This will open the WiCAN configuration portal. -
Configure WiCAN Network Mode: Set the “Mode” to “Ap+Station”. This allows WiCAN to act as both an access point and connect to your home Wi-Fi network.
-
Connect WiCAN to Your Home Wi-Fi: Enter your Home Wi-Fi network’s SSID and Password in the WiCAN configuration.
-
Enable and Configure MQTT: Enable MQTT in the WiCAN settings. Enter the Home Assistant MQTT broker details:
- Broker IP Address: The IP address of your Home Assistant instance (or the internal IP for the Mosquitto broker if running as an add-on).
- Credentials: Use the Home Assistant user credentials you created in Step 1.
-
Import Node-RED Flow (Example): Download the example Node-RED flow (
wican_example_flow.json) provided by WiCAN developers (usually available on their GitHub repository). Edit this file, replacingdevice_idwith your specific WiCAN device ID. -
Import Flow into Node-RED: Open the Node-RED add-on in Home Assistant and import the edited
wican_example_flow.jsonfile. -
Configure MQTT Broker in Node-RED: Double-click the “subscription” node in the imported flow. Configure the MQTT broker settings within Node-RED, using the same Home Assistant MQTT broker IP address and credentials from Step 6.
-
Deploy Node-RED Flow: Click “Deploy” in Node-RED to activate the flow.
-
Define MQTT Sensors in
configuration.yaml: To make your OBD2 data accessible as sensors in Home Assistant, you need to define them in yourconfiguration.yamlfile. Add entries similar to the examples below, adjustingstate_topicto match the MQTT topics your WiCAN device is publishing (refer to WiCAN documentation for topic structure):
mqtt:
  sensor:
    - name: "Ambient Temperature"
      state_topic: "CAR1/Amb_Temp" # Example topic, adjust as needed
      unit_of_measurement: "°C"
      value_template: "{{ value_json.amb_temp }}"

    - name: "Fuel Level"
      state_topic: "CAR1/Fuel_Level" # Example topic, adjust as needed
      unit_of_measurement: "%"
value_template: "{{ value_json.fuel_level }}"-
Restart Home Assistant: Restart your Home Assistant instance for the changes in
configuration.yamlto take effect. -
Add Entities to Dashboard: After restarting, go to your Home Assistant dashboard and add new “Entity” cards to display your newly created MQTT sensors (e.g., “Ambient Temperature”, “Fuel Level”).
Expanding Your Smart Car Integration
Once you have successfully integrated OBD2 data into Home Assistant, you can explore further automations and integrations:
- Custom Dashboards: Create dedicated dashboards in Home Assistant to visualize your car’s data in real-time.
- Advanced Automations in Node-RED: Develop more complex automations in Node-RED based on combinations of OBD2 data and other smart home sensor data.
- Data Logging and Analysis: Log OBD2 data over time for performance analysis and historical tracking.
By combining Home Assistant OBD2 integration with devices like WiCAN, you unlock a powerful way to connect your car to your smart home, gaining valuable insights and creating exciting new automation possibilities.
