Swapping or upgrading fuel injectors in your Honda can sometimes lead to compatibility issues, especially when dealing with older OBD0 (On-Board Diagnostics generation 0) and newer OBD1 (OBD generation 1) systems. While the keyword focuses on “Honda Obd1 To Obd2 Injector Adapter”, the principles and techniques discussed here are broadly applicable to injector connector adaptations, including the common scenario of adapting OBD1 injectors for use with an OBD0 harness. This guide will walk you through a practical, DIY method to modify OBD1 injectors to fit an OBD0 harness, ensuring your fuel system upgrade goes smoothly.
Understanding OBD Injector Connector Differences
OBD0 and OBD1 Honda engines often utilize different injector connector types. OBD0 injectors typically have a different plug configuration compared to OBD1 injectors. Attempting to directly plug OBD1 injectors into an OBD0 harness will reveal that the connectors are not compatible. This incompatibility arises from subtle differences in the plug design, intended to match specific injector types and wiring configurations within each generation of Honda engines.
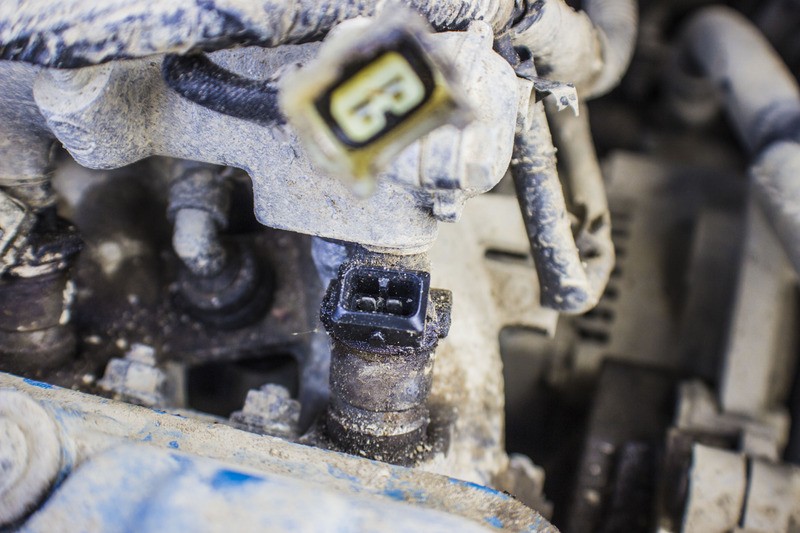
The images below highlight the key differences in the connectors, focusing on the guide lines and void spaces that prevent direct connection.
Notice the OBD0 injector plug features a line down the middle, while the OBD1 plug lacks this central line but has lines at the top. These seemingly minor differences are enough to prevent a direct plug-and-play installation.
Step-by-Step Modification of OBD1 Injector Plugs
To overcome this connector mismatch, you can carefully modify the OBD1 injector plug to fit the OBD0 harness. This involves using a Dremel or similar rotary tool to carefully grind down specific guide lines on the OBD1 injector plug.
Tools You’ll Need:
- OBD1 Injectors
- Dremel or Rotary Tool with a thin cutting attachment
- Safety Glasses
- Gloves (optional)
Modification Process:
-
Identify the Guide Lines: Examine the OBD1 injector plug. You’ll notice guide lines on the top of the plug, which need to be removed to match the OBD0 harness receiver.
-
Carefully Grind Down the Guide Lines: Using your Dremel with a thin attachment, gently grind down the guide lines on the OBD1 injector plug. Work slowly and cautiously to avoid damaging the connector pins or other parts of the plug.
- Test Fit: After grinding, test fit the modified OBD1 injector plug into your OBD0 harness connector. It should now clip in securely.
Important Note: Ensure you are only modifying the plastic plug and not damaging the electrical pins. Work in a well-lit area and take your time to achieve a clean modification.
Injector Servicing and Installation
Before installing your modified OBD1 injectors, it’s a good practice to inspect and clean them. This ensures optimal performance and fuel delivery.
Inspection and Cleaning:
-
Check for Stuck Injector Hats: Inspect the old OBD0 injectors. Look for any signs of stuck injector hats, which can cause fuel flow issues and rich running conditions.
-
Clean Injector Seats: Clean the injector seats in the intake manifold to remove any carbon buildup or debris.
-
Inspect O-Rings: Check the injector O-rings for wear or damage. Replace them if necessary to ensure a proper seal and prevent fuel leaks.
Installation:
-
Install Injectors: Carefully install the modified and serviced OBD1 injectors into the fuel rail and intake manifold.
-
Connect Wiring Harness: Connect the modified OBD1 injector plugs to your OBD0 wiring harness.
Resistor Pack and Wiring Considerations
OBD0 Honda systems often use a resistor pack in the injector circuit, while OBD1 systems may not always require one, depending on the injector type (saturated vs. peak and hold). In this modification process, the original resistor plug wires are addressed to maintain compatibility with the OBD0 system.
Harness Modification (Optional for Resistor Pack Bypass):
If you are bypassing the resistor pack (which may be necessary depending on your specific injector setup), you may need to modify the wiring harness. The original poster chose to cut and modify the resistor plug wires.
Wiring and Soldering:
-
Solder Connections: Solder the appropriate wires together to bypass the resistor pack if needed. Use heat shrink tubing to insulate the connections and ensure a clean and reliable wiring job.
-
Insulate Connections: Use heat shrink tubing to create a clean and insulated “cap” over the soldered connections.
Final Result and Performance
After completing the modifications and installation, you should have successfully adapted OBD1 injectors to work with your OBD0 harness.
Expected Outcomes:
- Improved Fuel Delivery: Upgraded or newer injectors can improve fuel delivery, especially if your old injectors were worn or clogged.
- Enhanced Throttle Response: As experienced by the original poster, throttle response might feel improved with better functioning injectors.
- Resolution of Fueling Issues: Addressing issues like stuck injector hats and cleaning injector seats can resolve problems like rich running conditions and fuel smells.
Disclaimer: This is a DIY modification guide. Proceed with caution and ensure you have a good understanding of automotive electrical systems and fuel systems before attempting these modifications. Improper modifications can lead to engine damage or safety hazards. If you are not comfortable with these procedures, it is recommended to seek professional assistance.
By following these steps, you can effectively adapt OBD1 injectors for use in OBD0 Honda vehicles, overcoming connector incompatibility and potentially improving your engine’s performance. Remember to always prioritize safety and double-check your work to ensure a successful and reliable outcome.