Reading diagnostic trouble codes from your vehicle has never been easier, thanks to OBD2 scanners. Innova scanners are a popular choice for both beginners and experienced DIYers looking to understand their car’s health. This guide will walk you through the simple steps of using an Innova OBD2 scanner to retrieve valuable diagnostic information, empowering you to take control of your car maintenance.
Step 1: Connecting Your Innova OBD2 Scanner to Your Vehicle
The first step is to establish a physical connection between your Innova OBD2 scanner and your vehicle’s computer system. This is done through the OBD2 port, which is a standardized port found in most cars and trucks manufactured after 1996.
Typically, the OBD2 port is located under the dashboard on the driver’s side of your vehicle. It’s often near the steering column or around the area of the pedals. Once you’ve located the port, take your Innova OBD2 scanner and firmly plug the connector into the OBD2 port. Ensure it’s securely connected to establish proper communication.
Step 2: Powering Up and Establishing Communication with Your Car’s Computer
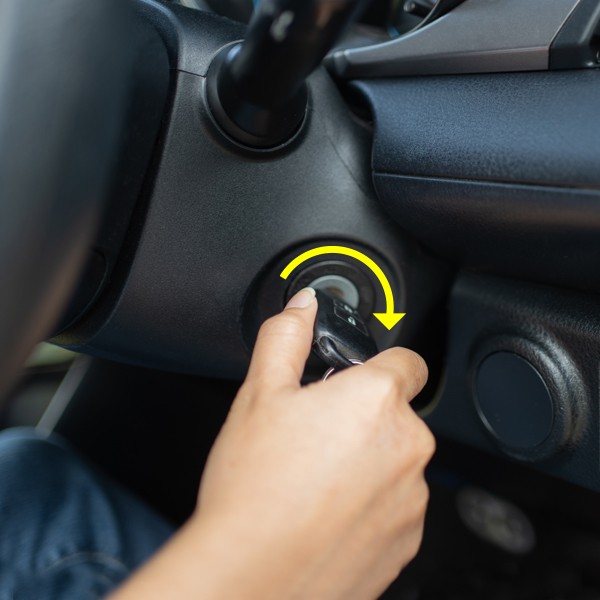
With the scanner physically connected, you now need to power it on and allow it to communicate with your vehicle’s computer. To do this, turn your vehicle’s ignition to the ON or IDLE position. You don’t need to start the engine completely unless specifically instructed by your Innova scanner’s manual for certain advanced functions.
Turning the ignition to the “ON” position provides power to the vehicle’s computer system and the OBD2 port, allowing the Innova scanner to initialize. Once powered, the scanner will automatically attempt to detect your vehicle’s VIN (Vehicle Identification Number) and establish a communication link. This process might take a few moments. Once connected, your Innova scanner will be ready to read and display any stored diagnostic trouble codes.
Note: While basic code reading can be done with the ignition ON, some advanced features of Innova scan tools, such as live data streaming or component testing, may require the engine to be running. If you need to run the engine, always start the engine first, and then connect your Innova scan tool afterward.
Step 3: Accessing and Reading Diagnostic Trouble Codes on Your Innova Scanner
After the Innova OBD2 scanner has successfully communicated with your vehicle, it will typically display the check engine diagnostic trouble codes directly on the screen. These codes are usually presented with a brief description to give you an initial understanding of the issue. The codes are often listed in order, possibly by severity or the order they were recorded.
Use the navigation buttons, typically UP ▲ and DOWN ▼ buttons on your Innova scanner, to scroll through all the detected codes if there is more than one.
For more detailed diagnostic options, look for a System Status or similar button on your Innova scanner. Pressing this button will usually take you to a menu where you can select different systems to scan, such as Global OBD2 (Check Engine) for generic powertrain codes, ABS (Anti-lock Brake System) for braking system codes, and potentially other systems depending on your Innova scanner model and vehicle compatibility. Use the UP ▲ and DOWN ▼ buttons to navigate this menu and press ENTER ↵ to select the system you want to investigate further.
Step 4: Disconnecting Your Innova OBD2 Scanner Safely
Once you have finished reading and recording the diagnostic trouble codes and any other necessary information, it’s important to disconnect your Innova OBD2 scanner properly.
Before physically disconnecting the scanner, ensure you turn the vehicle’s ignition OFF. This is crucial to prevent any potential electrical issues or data corruption. After turning off the ignition, you can safely unplug the Innova OBD2 scanner from the OBD2 port.
Most Innova OBD2 scanners are designed to store the scanned vehicle data in their internal memory. This feature allows you to review the data later, even after disconnecting from the vehicle, which can be helpful for further research or when consulting with a mechanic.
By following these steps, you can effectively use your Innova OBD2 scanner to read and understand your vehicle’s diagnostic trouble codes, taking a proactive approach to car maintenance and potentially saving time and money on repairs.