The OBD2 port in your car is a gateway to understanding your vehicle’s health, but it requires the right tool to decipher the data. The Autophix OM126 OBD2 scanner is a user-friendly device designed to provide you with crucial diagnostic information right at your fingertips. This guide will walk you through how to read and utilize the Autophix OM126 OBD2 scanner effectively, empowering you to diagnose car issues and potentially save on costly mechanic visits.
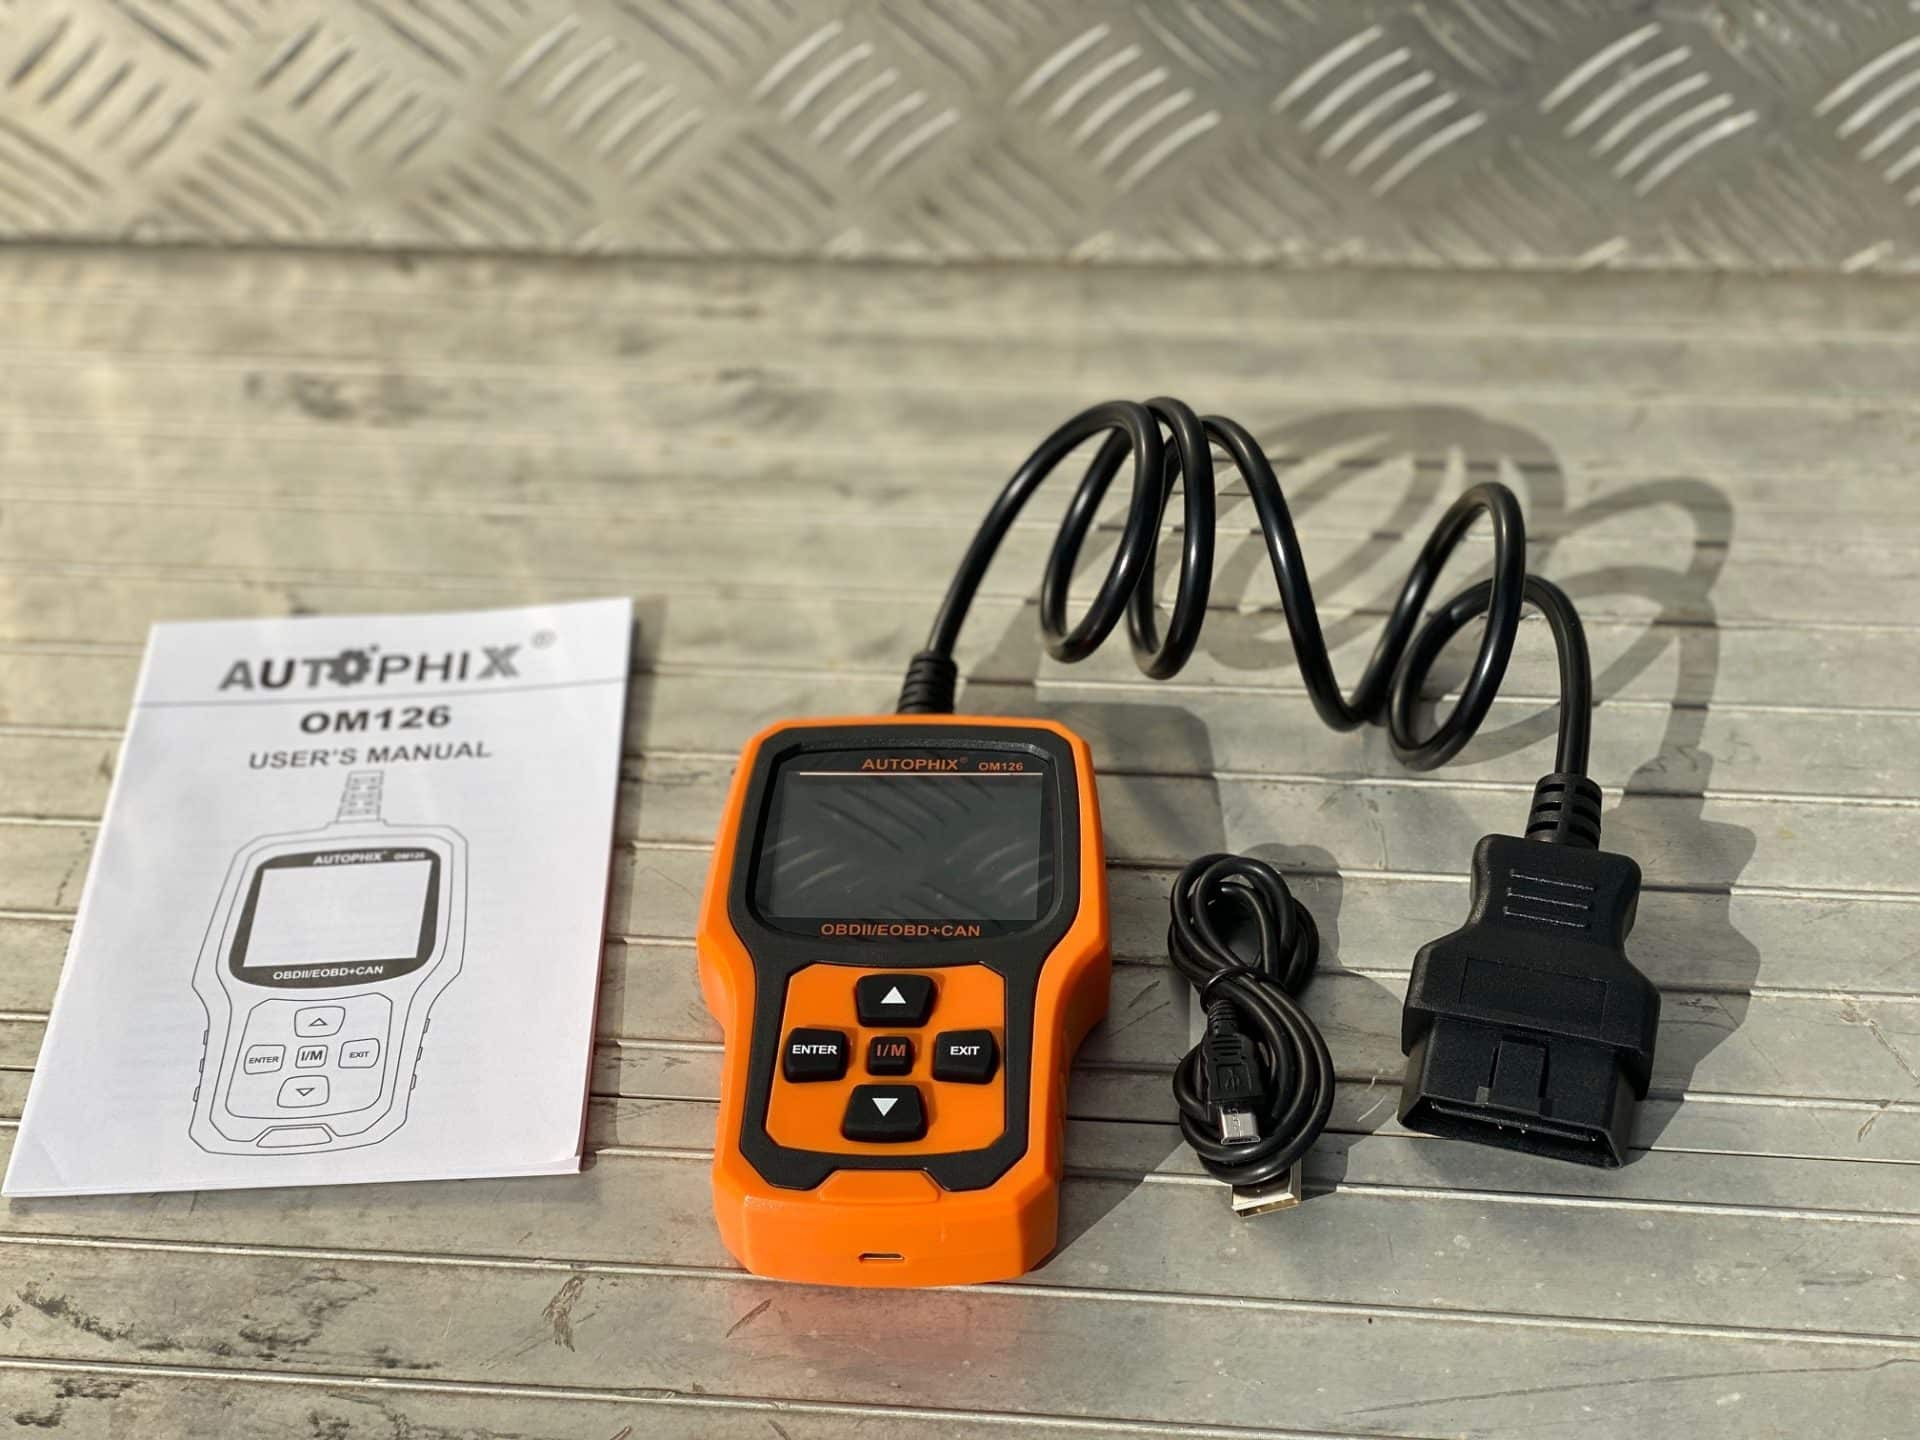 Autophix OM126 OBD2 scanner displaying vehicle diagnostic data on its color screen.
Getting Started with Your Autophix OM126
The Autophix OM126 is designed for ease of use right out of the box. It connects to any OBD2/CAN port, which is standard on most vehicles manufactured post-1996. Here’s how to get started:
- Locate the OBD2 Port: This port is usually found under the dashboard on the driver’s side. Refer to your vehicle’s manual if you are unsure of its exact location.
- Connect the OM126: With your vehicle turned off, plug the OM126 scanner into the OBD2 port. Ensure it’s firmly connected.
- Turn on Ignition: Turn your vehicle’s ignition to the “key on, engine off” (KOEO) position. This provides power to the scanner without starting the engine.
- Power Up: The Autophix OM126 will power on automatically once connected and the ignition is on. Follow the on-screen prompts to navigate the main menu.
Navigating the Autophix OM126 Interface
The OM126 features a color display and intuitive menu system. Using the directional buttons and the “OK” button, you can easily navigate through its functions. The main menu typically presents options such as:
- Read Codes: Access Diagnostic Trouble Codes (DTCs) that the vehicle’s computer has stored.
- Erase Codes: Clear DTCs after addressing the underlying issue.
- I/M Readiness: Check the status of your vehicle’s emission control systems.
- Data Stream: View real-time sensor data from the engine and other systems.
- O2 Sensor Test: Specifically for petrol vehicles, tests the oxygen sensors.
- EGR/EGT: Displays Exhaust Gas Recirculation/Exhaust Gas Temperature information if applicable to your vehicle.
- DTC Lookup: Allows you to manually enter a DTC to get a description.
Reading Diagnostic Trouble Codes (DTCs)
DTCs are codes stored by your car’s computer when it detects a problem. Reading these codes is the primary function for diagnosing issues:
- Select “Read Codes”: From the main menu, use the directional buttons to highlight “Read Codes” and press “OK”.
- View DTCs: The OM126 will retrieve and display any stored DTCs. Note down the codes displayed.
- Understand the Codes: The scanner may provide a brief description of the code. For more detailed information, you can use the “DTC Lookup” function on the device or search online using the code. Remember that a DTC indicates a problem area, not necessarily the exact faulty component.
Clearing Diagnostic Trouble Codes
Once you have diagnosed and repaired the issue causing a DTC, you can clear the code:
- Select “Erase Codes”: From the main menu, navigate to “Erase Codes” and press “OK”.
- Confirm Erase: The scanner will ask for confirmation before erasing codes. Confirm to proceed.
- Verify Clearance: After clearing, re-read codes to ensure the DTCs have been successfully erased and don’t reappear immediately. If a code returns, the underlying problem likely persists.
Exploring Live Data Streams
The “Data Stream” function provides real-time data from various sensors in your vehicle. This is useful for monitoring engine performance and identifying intermittent issues:
- Select “Data Stream”: Navigate to “Data Stream” in the main menu and press “OK”.
- Select Data Parameters: You can choose specific parameters to monitor, such as engine RPM, coolant temperature, oxygen sensor voltage, etc.
- View Live Data: The OM126 will display the selected data parameters in real-time as your engine is running (engine should be started for live data). Observe the readings for any unusual values that may indicate a problem.
Conclusion
The Autophix OM126 OBD2 scanner is a valuable tool for any car owner who wants to take a proactive approach to vehicle maintenance. By understanding how to read and interpret the data provided by this scanner, you can gain insights into your car’s health, diagnose potential problems early, and potentially save money by performing DIY repairs or having informed discussions with your mechanic. Its ease of use and comprehensive features make it a worthwhile investment for both novice and experienced car enthusiasts.