It might seem like a minor task, but needing to remove the plug, or more accurately the shroud, around your OBD2 port can sometimes feel like wrestling with a hidden puzzle. Many online guides suggest reaching behind the dashboard for some mysterious squeezing maneuver, but often, these methods simply don’t work, especially in tighter vehicle interiors. If you’ve been frustrated trying to access your OBD2 port due to a stubborn shroud, you’re in the right place.
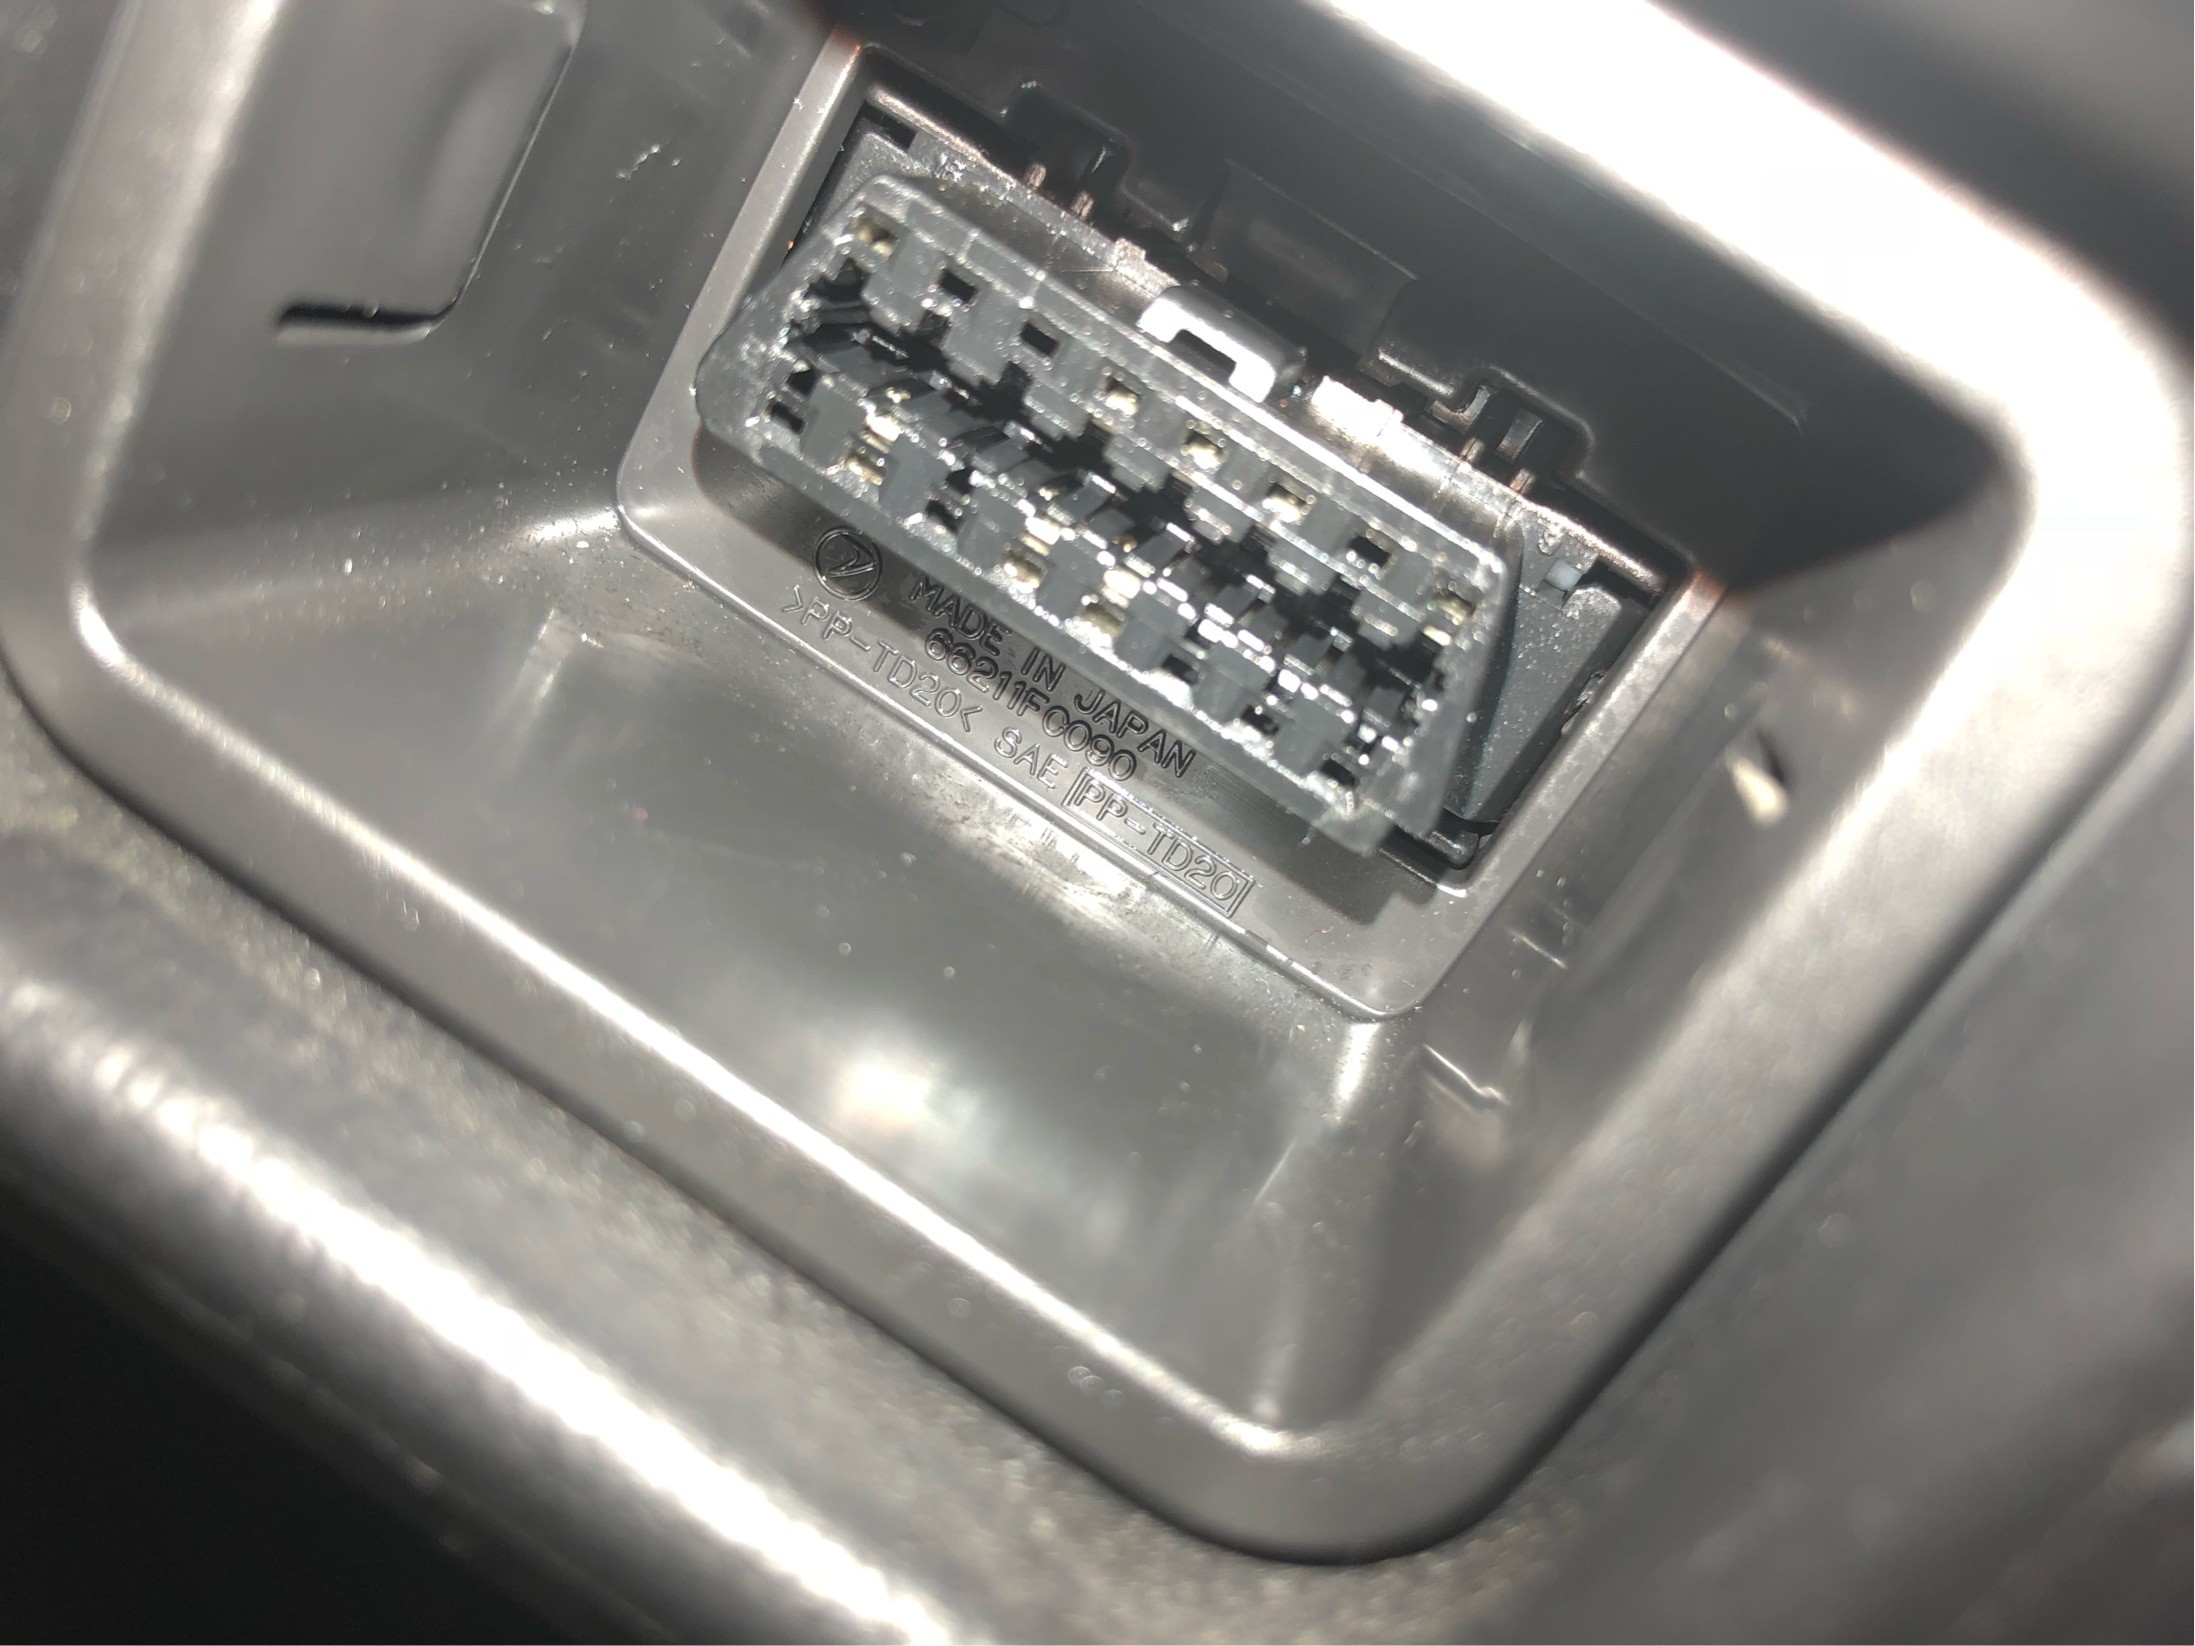
Let’s clarify what we’re talking about. Below is a view you might recognize – the OBD2 port nestled in its housing, typically located in the driver’s side footwell.
In this image, you can clearly see the OBD port itself – the connector with the pinholes – and the surrounding shroud or plug that’s mounted in the dashboard. It’s this shroud that we need to detach. Notice the top-left of the shroud in the picture; that’s indeed a clip, designed to secure it into the dash, as you might expect.
Many online resources advise some variation of blindly reaching behind the dash and attempting to squeeze clips to release the shroud. However, the reality is often much less cooperative. The next image illustrates why this “squeeze and pray” approach often fails:
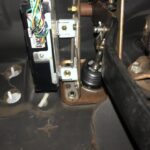
As you can see with the shroud removed, and my thumb indicating the limited space available behind the dash, effective squeezing of the retaining clips is practically impossible. The clips are positioned quite far down the shroud, and the OBD port itself obstructs direct access. While in a more spacious area, sliding a shim or thin pry bar might be an option, the cramped space behind the dashboard makes this impractical.
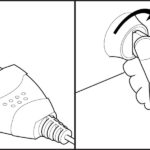
So, what’s the solution? It’s surprisingly straightforward: use a non-marring plastic pry bar to gently lever the shroud outwards from the driver’s side. Simultaneously, apply a pushing force from behind the dash if possible. You’ll likely need to work both sides of the shroud to loosen it effectively.
This method will result in the entire shroud and OBD port assembly becoming free from the dashboard. Be aware that there won’t be much slack in the wiring harness, so movement will be limited. If your task requires more access to the port itself, you can further detach it from the shroud. Typically, the OBD port is held within the shroud by clips on each side (located to the left of my thumb in the image above). These can be gently pried apart if needed.
Reinstallation is simply the reverse of removal. Just align the shroud back into its dashboard opening and push firmly. The clips will snap back into place, securing the OBD2 port plug once again.