Modern vehicles rely heavily on a complex network of sensors and computer systems to ensure optimal performance and efficiency. Diagnosing issues in these intricate systems often requires specialized tools and knowledge. One crucial component in your car’s engine management system is the Manifold Absolute Pressure (MAP) sensor. This sensor plays a vital role, and when it malfunctions, it can lead to various drivability problems. Fortunately, with the advent of OBD2 diagnostics, testing a MAP sensor has become more accessible.
This article will guide you on how to effectively test your MAP sensor using OBD2 diagnostics. Understanding the function of this sensor and how to diagnose it is essential for both DIY car enthusiasts and those looking to communicate effectively with their mechanics.
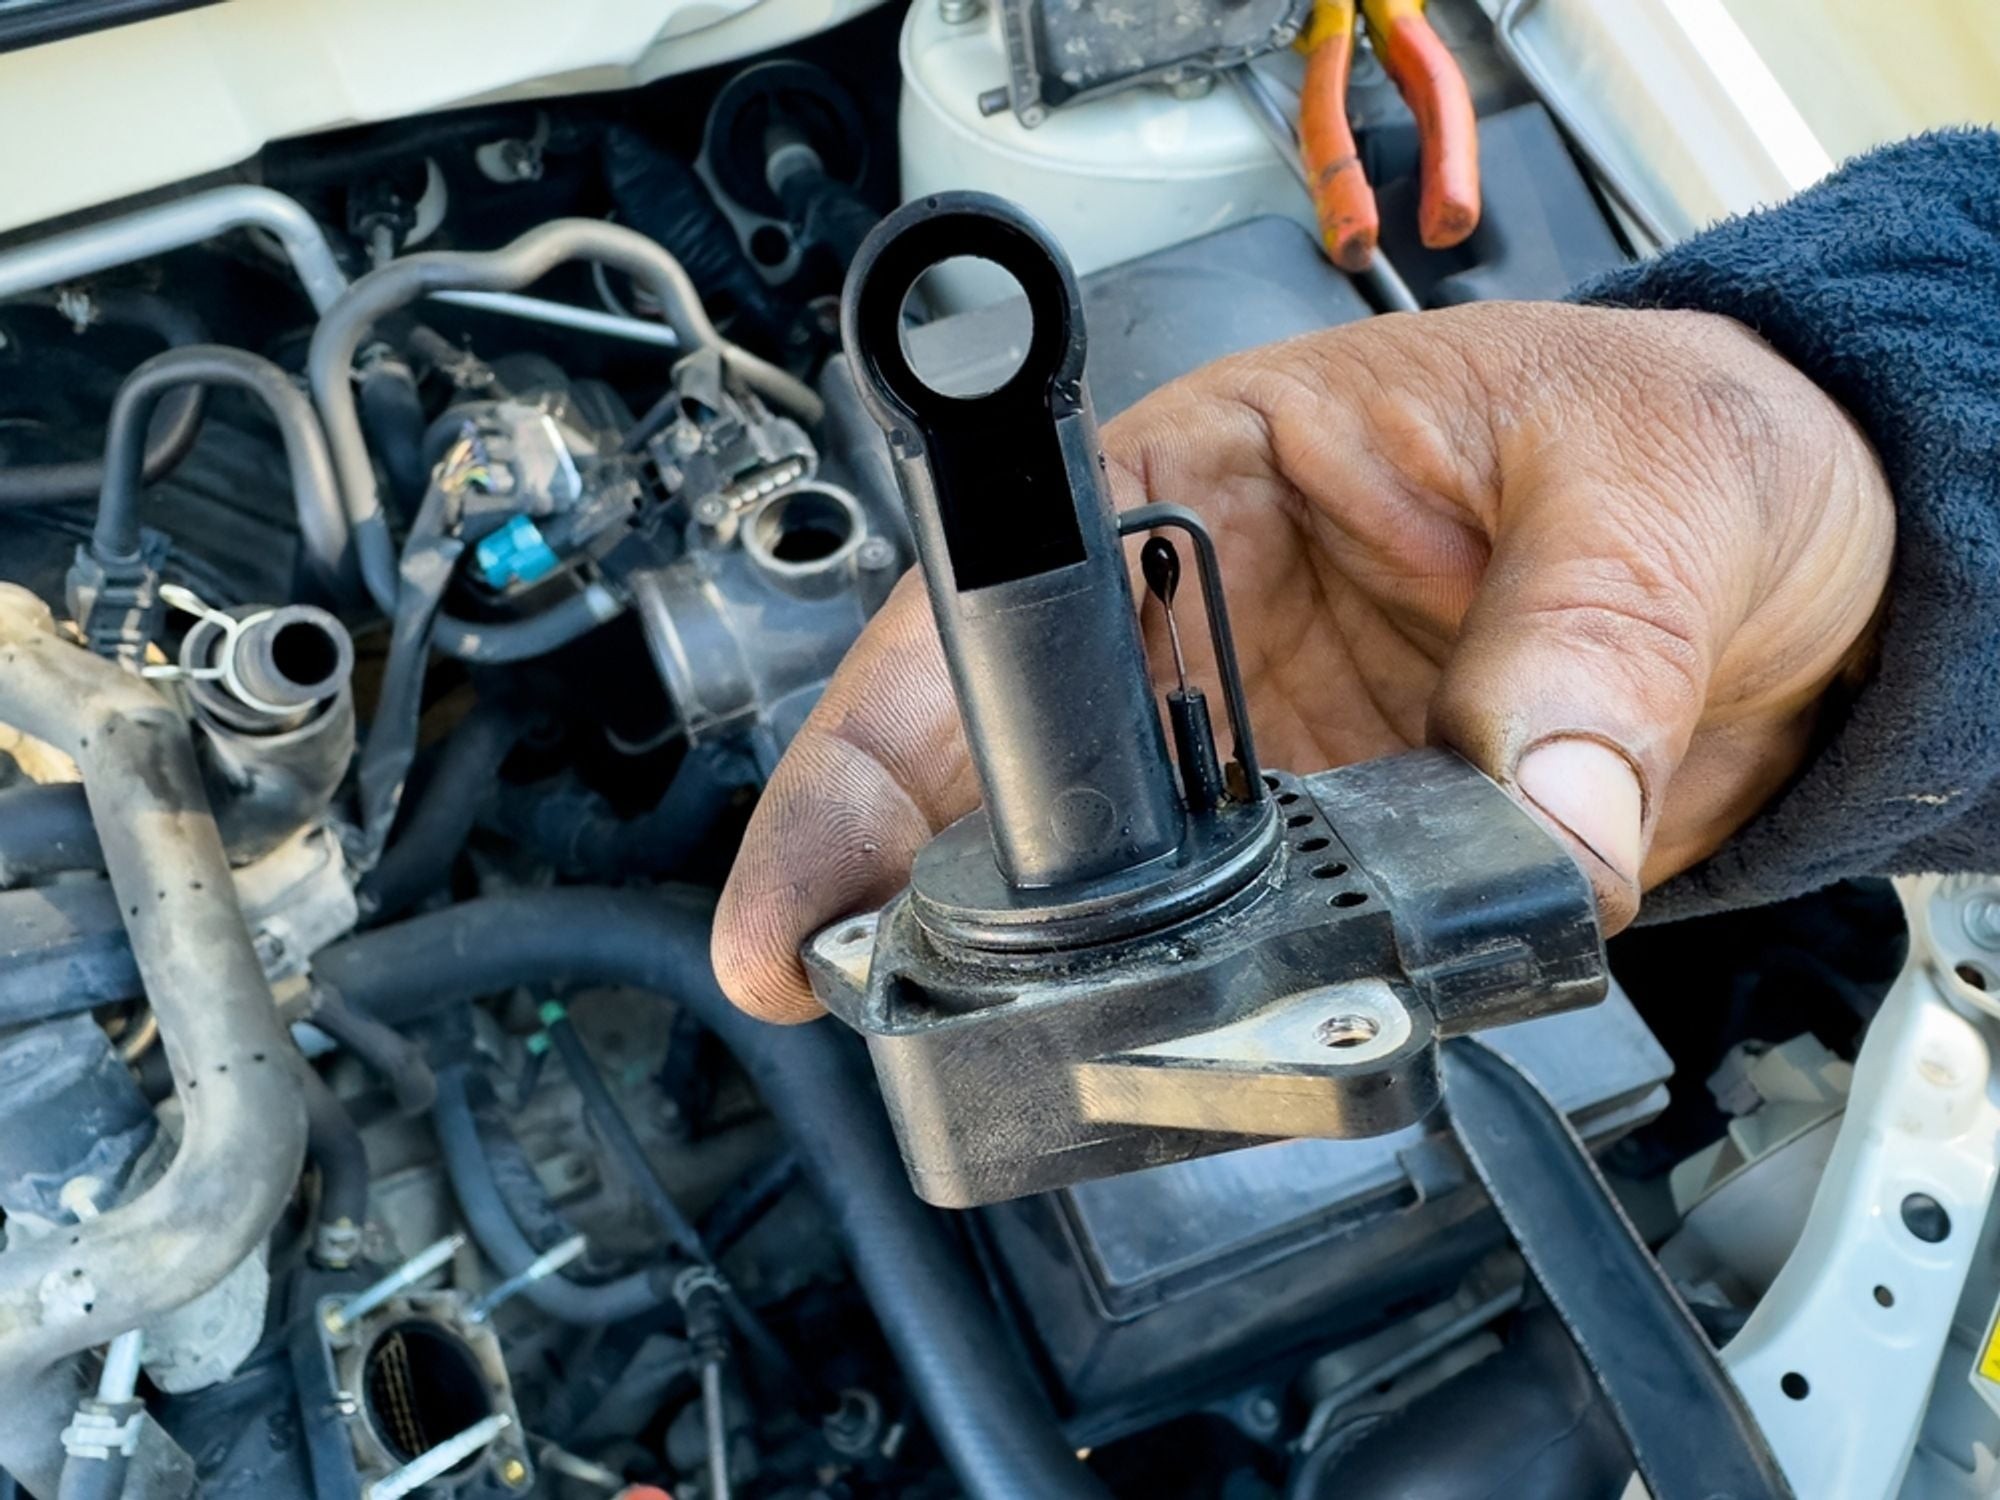
Understanding the MAP Sensor and Its Importance
The Manifold Absolute Pressure (MAP) sensor is a critical component within your vehicle’s engine management system. It is responsible for measuring the pressure within the intake manifold. This pressure reading is then relayed to the Engine Control Unit (ECU), which uses this information for several crucial functions:
- Optimizing Engine Performance: By providing real-time manifold pressure data, the MAP sensor enables the ECU to precisely adjust the air-fuel mixture, ignition timing, and other engine parameters. This optimization ensures peak engine performance, improved fuel efficiency, and reduced emissions.
- Turbocharger and Supercharger Boost Control: In vehicles equipped with forced induction systems like turbochargers or superchargers, the MAP sensor is even more critical. It allows the ECU to accurately monitor and control boost pressure, preventing engine damage and maintaining optimal power delivery.
- On-Board Diagnostics and Fault Detection: The ECU continuously monitors the MAP sensor’s voltage readings. Deviations from expected values can indicate a problem, triggering diagnostic trouble codes (DTCs) and often illuminating the check engine light. These codes, accessible via an OBD2 scanner, are invaluable for diagnosing issues within the engine management system, including MAP sensor malfunctions.
Recognizing Symptoms of a Failing MAP Sensor
Before diving into OBD2 testing, understanding the common symptoms of a faulty MAP sensor can help you pinpoint the potential issue. While a check engine light is often the first indicator, other performance-related symptoms may include:
- Engine Performance Issues: A malfunctioning MAP sensor can send inaccurate pressure readings to the ECU, leading to an improper air-fuel ratio. This can manifest as rough idling, engine stalling, hesitation during acceleration, and a general decrease in engine power.
- Reduced Fuel Economy: An incorrect air-fuel mixture caused by a faulty MAP sensor can result in inefficient combustion. This inefficiency directly translates to poorer fuel economy, meaning you’ll need to fill up your gas tank more frequently. If you notice a sudden drop in your car’s MPG, a MAP sensor issue could be a contributing factor.
Testing the MAP Sensor with an OBD2 Scanner: A Step-by-Step Guide
An OBD2 scanner is an indispensable tool for modern vehicle diagnostics, and it’s essential for accurately testing a MAP sensor. Here’s how to use it effectively:
-
Acquire an OBD2 Scanner: You’ll need an OBD2 scanner. Various models are available, from basic code readers to more advanced scanners with live data streaming capabilities, such as the Innova 5210 or 5610.
-
Locate the OBD2 Port: The OBD2 port is typically located under the dashboard on the driver’s side of your vehicle. Consult your vehicle’s owner’s manual if you have trouble finding it.
-
Connect the OBD2 Scanner: With your vehicle turned off, plug the OBD2 scanner into the port. Turn your vehicle’s ignition to the “ON” position (do not start the engine unless your scanner specifically instructs you to).
-
Read Diagnostic Trouble Codes (DTCs): Navigate your scanner’s menu to the “Read Codes” or “Diagnostic Codes” section. The scanner will retrieve any stored DTCs from your vehicle’s ECU. If there’s a MAP sensor issue, you may see codes like:
- P0105: MAP sensor circuit malfunction
- P0106: MAP sensor range/performance problem
- P0107: MAP sensor circuit low input
- P0108: MAP sensor circuit high input
- P0109: MAP sensor circuit intermittent
Note: These are common examples, and specific codes can vary slightly depending on your vehicle’s make and model. Consult a repair manual or online database for codes specific to your car.*
-
Access Live Data (Sensor Readings): A key function for MAP sensor testing is accessing live data. Navigate your scanner to the “Live Data,” “Data Stream,” or similar section. Look for “MAP sensor voltage” or “Manifold Absolute Pressure” readings.
-
Analyze MAP Sensor Readings: With the engine idling, observe the MAP sensor voltage or pressure readings. The expected readings vary by vehicle, but generally, at idle at sea level, you should see a reading around atmospheric pressure (approximately 100 kPa or 29-30 inches of mercury, or voltage readings within the manufacturer’s specified range). As you rev the engine or apply throttle, the MAP sensor reading should change, indicating it’s responding to pressure changes in the intake manifold.
- No Reading or Stuck Reading: If the MAP sensor reading is absent or stays fixed regardless of engine RPM changes, this strongly suggests a sensor malfunction or a wiring issue.
- Out-of-Range Readings: Readings significantly higher or lower than expected at idle or during throttle changes can also indicate a faulty sensor.
- Clear DTCs and Retest (Optional): After testing, you can use your OBD2 scanner to clear the DTCs. If the MAP sensor issue is intermittent, the code may reappear after driving. This can help confirm if the MAP sensor is indeed the source of the problem.
Common Causes of MAP Sensor Failure
Understanding why MAP sensors fail can be helpful in preventing future issues. Common causes include:
- Contamination: The MAP sensor is located in the intake manifold and can be exposed to oil vapor, fuel residue, and other contaminants from the engine intake system. Over time, this contamination can impede the sensor’s accuracy and lead to failure.
- Electrical Issues: Like any electrical component, MAP sensors can suffer from wiring problems, connector corrosion, or internal electrical failures.
- Physical Damage: Exposure to excessive heat, vibration, or physical impacts can damage the sensitive components within the MAP sensor.
Conclusion
Testing your MAP sensor using OBD2 diagnostics is a straightforward process that can save you time and money by accurately identifying a potential issue. By understanding the function of the MAP sensor, recognizing the symptoms of a malfunction, and utilizing an OBD2 scanner to read DTCs and live data, you can confidently diagnose MAP sensor problems. While OBD2 testing is a valuable first step, remember that complex issues may require further professional diagnosis and repair. If you are unsure about any aspect of testing or repair, it’s always best to consult a qualified mechanic.