Diagnosing car problems can often feel like deciphering a complex puzzle. Luckily, with an Innova OBD2 code reader, you can quickly understand what’s going on under the hood of your vehicle. These user-friendly devices empower you to read and interpret diagnostic trouble codes, helping you save time and money on car repairs. This guide will walk you through the simple steps of using your Innova OBD2 code reader to get to the bottom of your car’s issues.
Step 1: Locating the OBD2 Port in Your Vehicle
The first step is to find your vehicle’s OBD2 port. This port is standardized in all cars and light trucks manufactured after 1996 and is usually located within a few feet of the steering wheel. Common locations include under the dashboard on the driver’s side, beneath the steering column, or sometimes near the center console. Refer to your Innova vehicle’s owner’s manual if you are having trouble locating it. Once found, ensure the ignition is turned OFF before proceeding.
Step 2: Establishing Communication with Your Innova OBD2 Reader
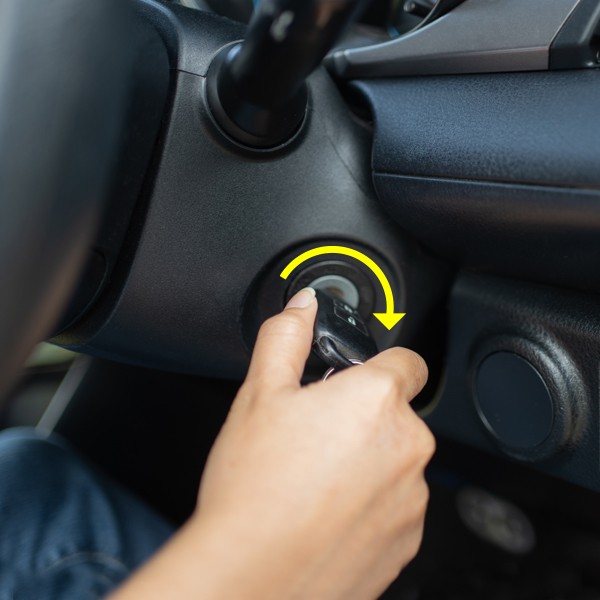
With the ignition off, firmly plug your Innova OBD2 code reader into the OBD2 port. You may feel a click as it securely connects. Now, turn your vehicle’s ignition to the ON or IDLE position. This step is crucial as it powers up the vehicle’s computer system and allows the Innova scanner to establish communication. The Innova OBD2 reader will automatically attempt to connect, often displaying a welcome screen or initiating the connection process. It may automatically retrieve your Vehicle Identification Number (VIN) to correctly identify your vehicle’s make and model.
Note: Innova OBD2 scan tools are designed to function even with the engine running, especially when utilizing advanced features. If your Innova tool has features that require the engine to be running, start the engine first, and then connect the scan tool. This sequence ensures proper communication and accurate readings.
Step 3: Accessing the System Status Menu and Reading Diagnostic Trouble Codes
Once the Innova OBD2 scanner has successfully connected to your vehicle’s computer, it will often automatically display any detected diagnostic trouble codes (DTCs) related to the check engine light or other systems. These codes are typically presented on the screen along with a brief description of the issue. The codes are often ordered by severity, helping you prioritize potential problems. Use the navigation buttons on your Innova device, such as UP ▲ or DOWN ▼, to scroll through all the detected codes if multiple issues are present.
For a more comprehensive diagnostic overview, press the System Status or similar button on your Innova OBD2 reader. This will take you to a menu with further diagnostic options.
Within the System Status menu, you can navigate through various vehicle systems that your Innova scanner can access. Common options include Global OBD2 (Check Engine) for standard engine and emissions codes, and system-specific diagnostics like ABS (Anti-lock Brake System), SRS (Supplemental Restraint System/Airbag), and more, depending on your Innova model’s capabilities. Use the UP ▲ and DOWN ▼ buttons to highlight your desired system and press ENTER ↵ to select and proceed with reading codes for that specific system.
Step 4: Disconnecting Your Innova OBD2 Code Reader
After you have reviewed your diagnostic trouble codes and gathered the necessary information, you can safely disconnect your Innova OBD2 reader. First, ensure you turn the vehicle’s ignition OFF. Then, simply unplug the Innova tool from the OBD2 port. Most Innova OBD2 scanners have internal memory and will store the vehicle data and scan results, allowing you to review the information later even after disconnecting from the vehicle.
By following these straightforward steps, you can effectively use your Innova OBD2 code reader to diagnose car problems yourself. This empowers you to be informed about your vehicle’s health, potentially fix minor issues yourself, and communicate more effectively with mechanics for more complex repairs, saving you time and money in the long run.
