Connecting your STM32 microcontroller to your car’s On-Board Diagnostics (OBD2) port opens up a world of possibilities for automotive diagnostics and data monitoring. The Controller Area Network (CAN) bus is the backbone of modern vehicle communication, allowing you to tap into a wealth of sensor data. However, many enthusiasts and developers face the frustrating issue of “No Message!” when first attempting to read CAN data using an STM32 and OBD2 interface. This guide will walk you through common pitfalls and troubleshooting steps to get your Stm32 Obd2 project up and running, ensuring you successfully receive and interpret CAN messages from your vehicle.
Understanding the Challenge: Why “No Message!”?
Encountering “No Message!” repeatedly on your serial monitor, despite connecting your STM32 to the OBD2 port and powering on your car, is a common initial hurdle. The original poster experienced this exact problem, highlighting several potential causes that we will explore in detail. Let’s break down the possible reasons why you might not be seeing CAN messages and how to systematically address them.
Hardware and Wiring Essentials for STM32 OBD2
The physical connection between your STM32 and the OBD2 port is paramount. Let’s examine the crucial hardware components and wiring considerations:
1. OBD2 Port and CAN Bus Pins
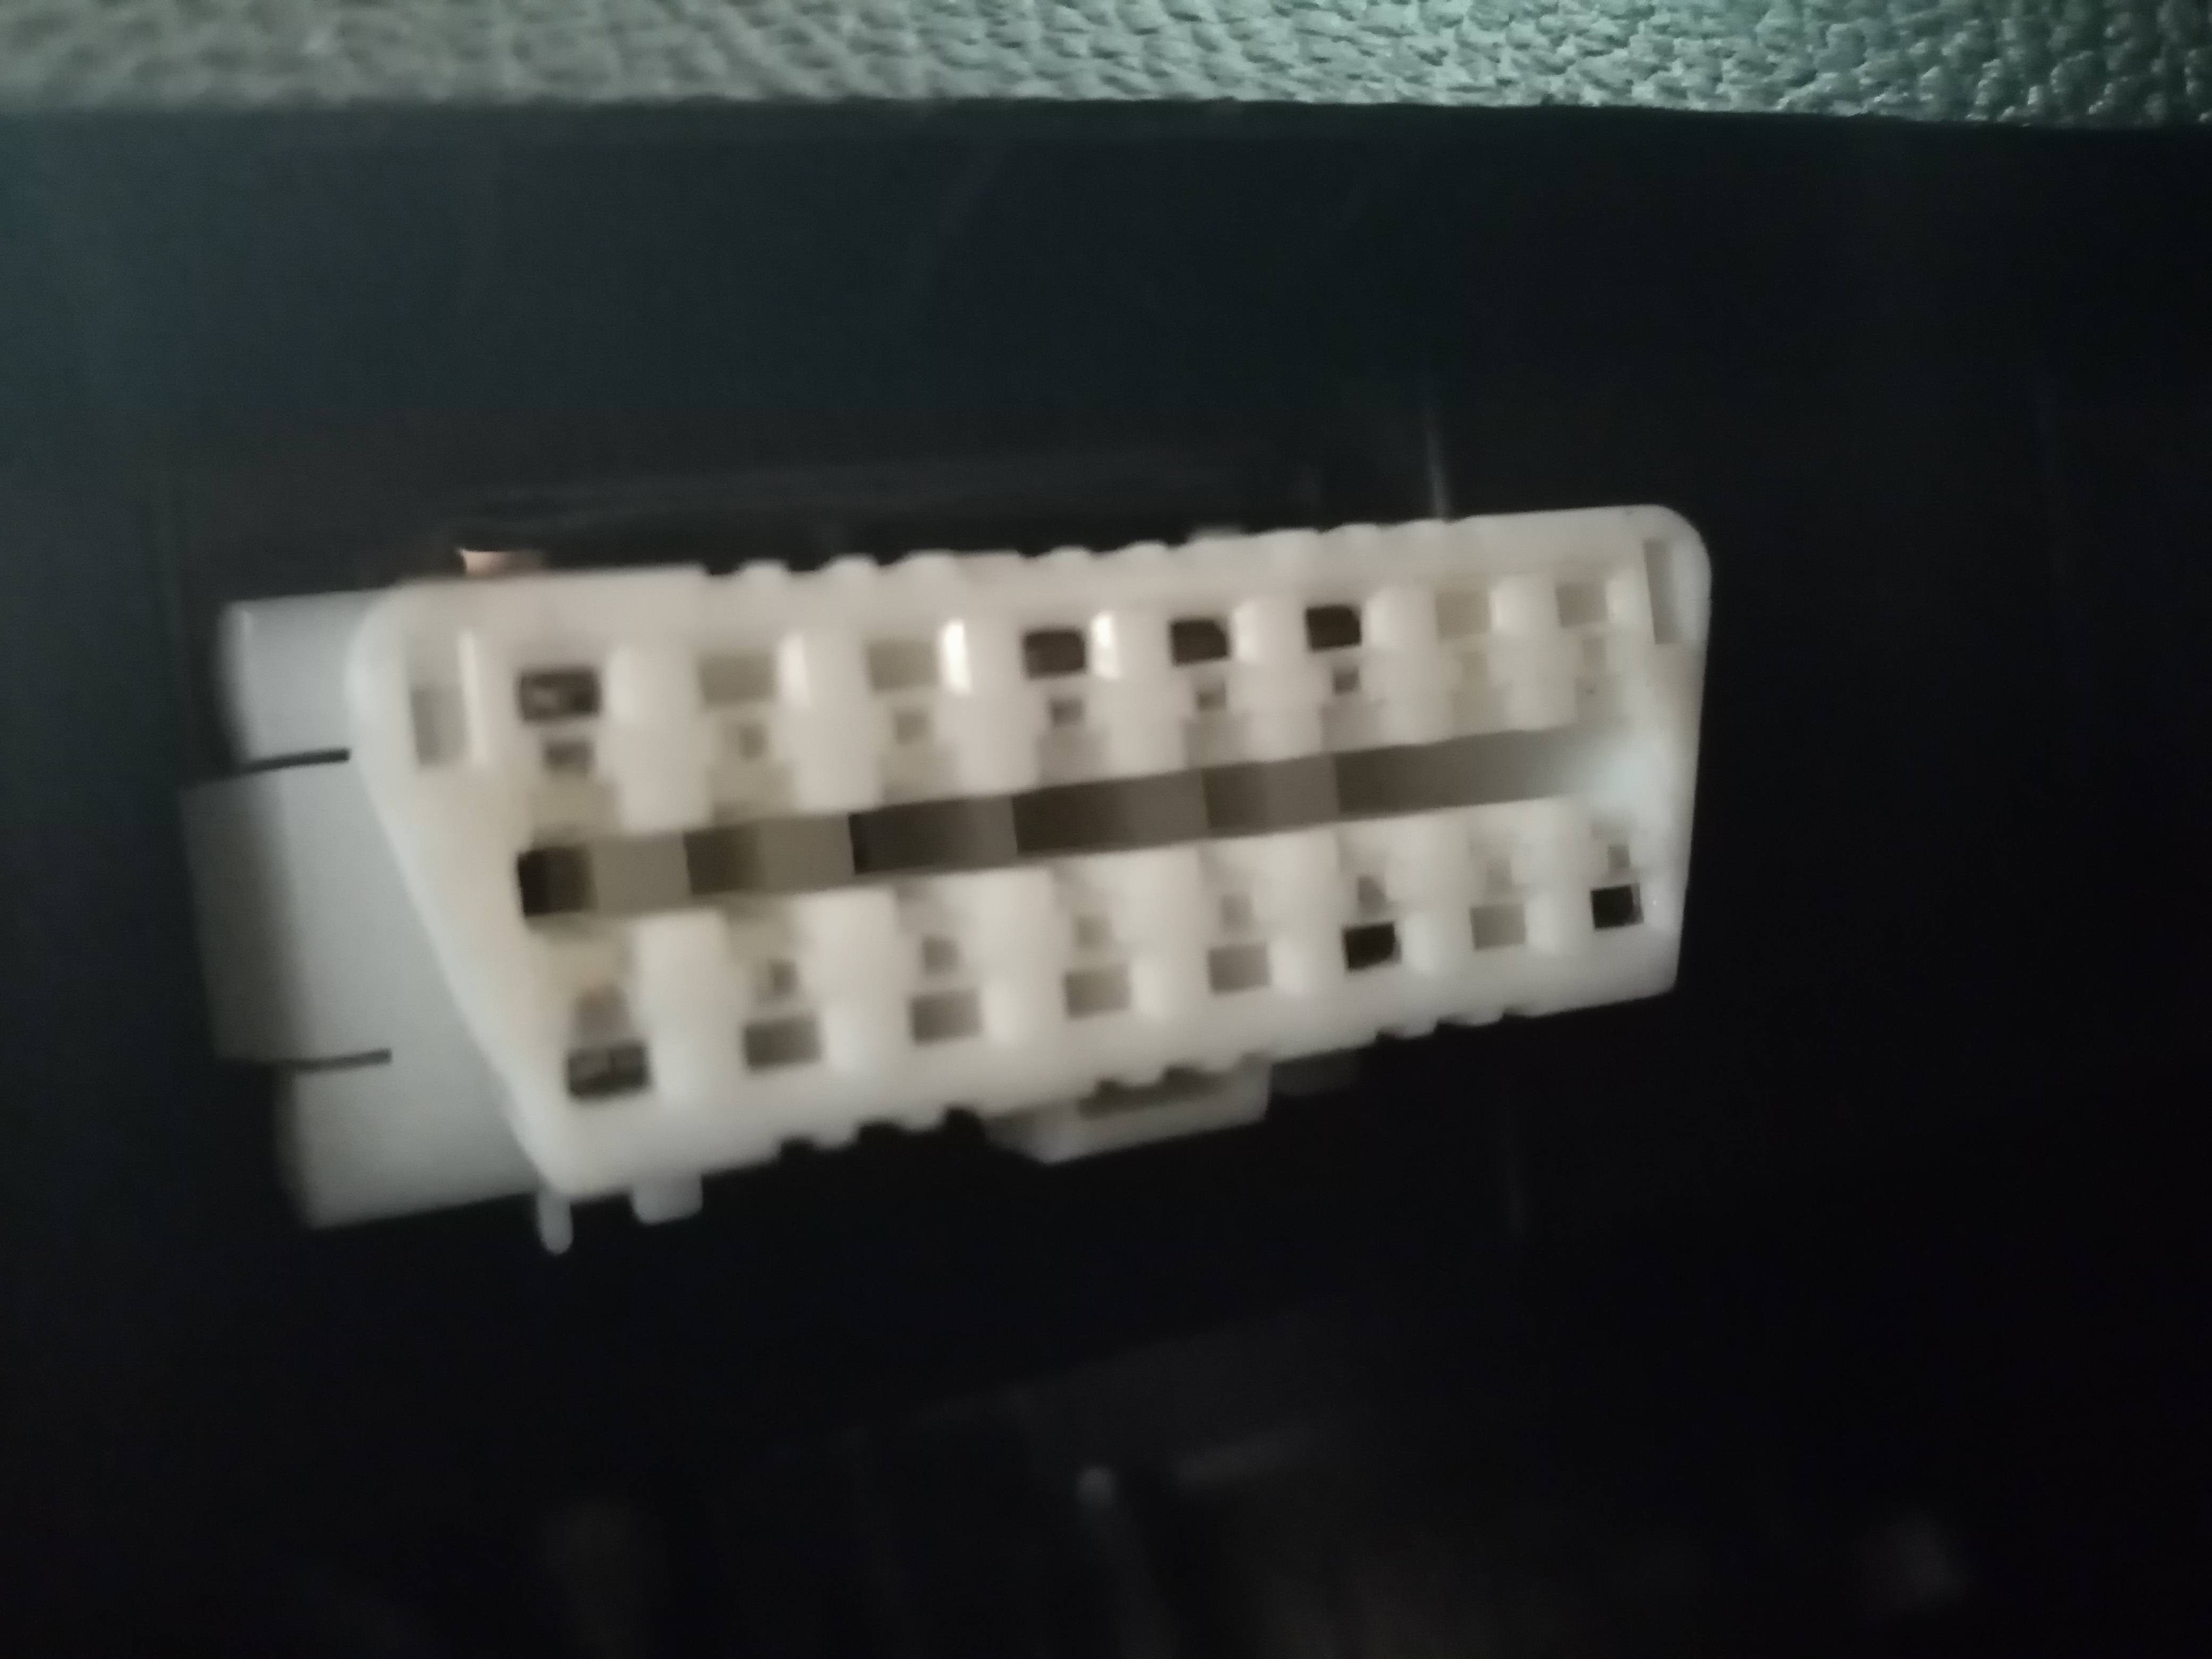
The OBD2 port is a standardized interface in modern vehicles, but not all pins are used for CAN communication. Typically, CAN High (CANH) and CAN Low (CANL) are found on pins 6 and 14 respectively.
Verify your car’s OBD2 port pinout. While pins 6 and 14 are standard for CAN, always double-check your vehicle’s documentation or online resources to confirm. The images provided by the original poster clearly show wires connected to pins 6 and 14, indicating CAN support in their vehicle, but this is not universal.
2. MCP2551 CAN Transceiver IC and Potential Faults
The MCP2551 is a common and reliable CAN transceiver IC used to interface your STM32’s CAN controller with the physical CAN bus. A faulty MCP2551 IC is a potential, although less likely, cause of communication failure.
Loopback Testing: The original poster correctly attempted loopback mode testing. While successful loopback tests confirm the STM32 CAN controller and MCP2551 chip functionality to some extent, it doesn’t definitively rule out issues with the external connections or transceiver’s ability to communicate on the bus.
Consider a Replacement (If Possible): If you have a spare MCP2551 or another CAN transceiver IC, swapping it out can quickly eliminate a faulty IC as the root cause.
3. Termination Resistor: 120 Ohms – To Include or Not?
The 120-ohm resistor between CANH and CANL is a critical element for proper CAN bus operation. It acts as a termination resistor, preventing signal reflections and ensuring signal integrity, especially in longer bus lengths.
Terminal Node Consideration: The original poster questioned whether their device connected to the OBD2 port is considered a terminal node. In most OBD2 diagnostic scenarios, your device is considered a terminal node on the CAN bus. Modern vehicles often have multiple ECUs (Electronic Control Units) connected to the CAN bus, and your diagnostic tool is essentially adding another node.
Always Include the 120-ohm Resistor: Unless you are absolutely certain there’s already a termination resistor correctly placed at the OBD2 port connection point within your car’s system (which is unlikely for a simple diagnostic interface), it is highly recommended to include a 120-ohm resistor between CANH and CANL near your MCP2551. This is often a primary reason for communication failures.
4. Schematic Review and Slew Rate Resistor
The schematic provided by the original poster shows a 10k resistor on pin 8 of the MCP2551, intended for slew rate control.
Slew Rate Control Resistor (Pin 8/Rs): The 10k resistor on the Rs pin is typically used to reduce electromagnetic emissions by slowing down the signal rise and fall times. While it can be beneficial in some cases, it’s generally not required for basic OBD2 diagnostics and can sometimes hinder communication, especially at higher baud rates. For initial troubleshooting, try removing the 10k resistor and directly connecting the Rs pin to ground if you are facing communication issues. The MCP2551 datasheet will provide specific guidance on slew rate resistor values based on your application and baud rate if you choose to use one.
Baud Rate and CAN Protocol Configuration
Correctly configuring the CAN baud rate and protocol settings in your STM32 code is crucial for successful communication.
1. Baud Rate Mismatch: 500kbps vs. 250kbps
The original poster correctly identified the potential baud rate variations in OBD2 CAN implementations:
- 500 kbps (High-speed CAN)
- 250 kbps (Medium-speed CAN)
Start with 500 kbps: 500 kbps is the most common baud rate for OBD2 CAN. Begin your testing with this setting.
If 500 kbps Fails, Try 250 kbps: If you consistently get “No Message!” at 500 kbps, try switching to 250 kbps. Some vehicles, or specific CAN buses within a vehicle, might use the slower speed.
Standard (11-bit) vs. Extended (29-bit) Identifiers: For basic OBD2 sniffing and diagnostics, standard 11-bit identifiers are typically sufficient. You generally do not need to worry about extended identifiers initially, especially when trying to simply receive any CAN messages. Focus on getting any data first before delving into identifier types.
2. STM32 CAN Initialization and Baud Rate Setting
The provided MX_CAN1_Init() function appears to correctly configure the CAN peripheral for 500 kbps, assuming a 45 MHz APB1 clock.
 static void MX_CAN1_Init(void) {
  hcan1.Instance = CAN1;
  hcan1.Init.Prescaler = 5;
  hcan1.Init.Mode = CAN_MODE_NORMAL;
  hcan1.Init.SyncJumpWidth = CAN_SJW_1TQ;
  hcan1.Init.TimeSeg1 = CAN_BS1_15TQ;
  hcan1.Init.TimeSeg2 = CAN_BS2_2TQ;
  hcan1.Init.TimeTriggeredMode = DISABLE;
  hcan1.Init.AutoBusOff = DISABLE;
  hcan1.Init.AutoWakeUp = DISABLE;
  hcan1.Init.AutoRetransmission = DISABLE;
  hcan1.Init.ReceiveFifoLocked = DISABLE;
  hcan1.Init.TransmitFifoPriority = DISABLE;
  if (HAL_CAN_Init(&hcan1) != HAL_OK) {
   Error_Handler();
  }
 }
Verify Clock Settings: Double-check your STM32 clock configuration (as shown in the clock tree image) and ensure that the APB1 clock frequency is indeed 45 MHz or whatever you are expecting. Incorrect clock settings will lead to incorrect baud rates.
Changing Baud Rate Dynamically: The original poster asked about changing the baud rate “in the middle of the program.” The suggested approach of de-initializing and re-initializing the CAN peripheral with different settings is generally the standard and reliable way to change baud rates on STM32 microcontrollers. There isn’t a simpler method to dynamically switch baud rates during runtime.
CAN Filtering and Message Reception
CAN filters are used to selectively accept or reject CAN messages based on their identifiers. Incorrect filter settings can prevent you from receiving any messages.
1. Permissive CAN Filter for Sniffing
The CAN1_Config() function in the original post sets up a very permissive filter, intended to accept all CAN messages:
void CAN1_Config(void) {
 CAN_FilterTypeDef CAN1_CONF;
 CAN1_CONF.FilterActivation = ENABLE;
 CAN1_CONF.FilterBank = 0;
 CAN1_CONF.FilterFIFOAssignment = CAN_RX_FIFO0;
 CAN1_CONF.FilterIdHigh = 0X0000;
 CAN1_CONF.FilterIdLow = 0X0000;
 CAN1_CONF.FilterMaskIdHigh = 0X0000;
 CAN1_CONF.FilterMaskIdLow = 0X0000;
 CAN1_CONF.FilterMode = CAN_FILTERMODE_IDMASK;
 CAN1_CONF.FilterScale = CAN_FILTERSCALE_32BIT;
 if(HAL_CAN_ConfigFilter(&hcan1, &CAN1_CONF) != HAL_OK) {
  Error_Handler();
 }
}
Filter Configuration Check: This filter configuration should allow all messages to pass through. FilterMode = CAN_FILTERMODE_IDMASK and setting both FilterId and FilterMask to 0x0000 effectively disables filtering, accepting all IDs.
Double-Check Filter Activation: Ensure that CAN1_CONF.FilterActivation = ENABLE; is indeed set. Accidentally disabling the filter would also prevent message reception.
2. CAN Reception Loop and FIFO Handling
The CAN1_Rx() function continuously checks the RX FIFO and attempts to read messages:
void CAN1_Rx(void) {
 uint8_t CAN_Rx_Msg[5];
 CAN_RxHeaderTypeDef CAN1_RxHeader;
 while(1) {
  if(! HAL_CAN_GetRxFifoFillLevel(&hcan1, CAN_RX_FIFO0)) {
   HAL_UART_Transmit(&huart2, (unsigned char *)"NO MESSAGE!n", strlen("NO MESSAGE!n"), HAL_MAX_DELAY);
   HAL_Delay(1500);
  } else {
   HAL_UART_Transmit(&huart2, (unsigned char *)"MESSAGE ARRIVED!n", strlen("MESSAGE ARRIVED!n"), HAL_MAX_DELAY);
   HAL_CAN_GetRxMessage(&hcan1, CAN_RX_FIFO0, &CAN1_RxHeader, CAN_Rx_Msg);
   HAL_UART_Transmit(&huart2, (unsigned char *)CAN_Rx_Msg, sizeof(CAN_Rx_Msg), HAL_MAX_DELAY);
  }
 }
}
FIFO Level Check: HAL_CAN_GetRxFifoFillLevel() is correctly used to check if there are messages in the FIFO.
Buffer Size Issue: uint8_t CAN_Rx_Msg[5]; This is a potential problem! CAN data frames can be up to 8 bytes long. You must allocate at least uint8_t CAN_Rx_Msg[8]; to avoid buffer overflows and potential data corruption. It’s best practice to use a buffer of size 8 to accommodate the maximum CAN data length.
Transmit Buffer Size: sizeof(CAN_Rx_Msg) in HAL_UART_Transmit will always be 5 (or 8 if you correct the buffer size), regardless of the actual data received. You should use CAN1_RxHeader.DLC (Data Length Code) from the received header to transmit only the actual received data bytes over UART. This will prevent sending garbage data if the received CAN message has less than 8 bytes of data.
Stepping Through Troubleshooting: A Practical Approach
If you are still facing “No Message!” after reviewing the points above, follow this systematic troubleshooting process:
-
Double-Check Wiring:
- Verify CANH and CANL connections to OBD2 port pins 6 and 14.
- Ensure solid connections and no loose wires.
- Crucially, add a 120-ohm resistor between CANH and CANL near your MCP2551.
- Try removing the 10k slew rate resistor on MCP2551 pin 8 (Rs).
-
Baud Rate Iteration:
- Start with 500 kbps in your STM32 CAN initialization.
- If no messages, switch to 250 kbps and re-test.
-
Code Review (Again):
- Confirm correct clock settings and CAN baud rate calculation.
- Double-check CAN filter configuration for permissiveness (accept all messages).
- Correct the
CAN_Rx_Msgbuffer size to at least 8 bytes. - Use
CAN1_RxHeader.DLCto transmit only the received data length via UART.
-
OBD2 Compatibility (Less Likely but Possible):
- While OBD2 is standardized, very old or highly proprietary vehicles might have non-standard CAN implementations. This is less common but worth considering as a last resort. Try your setup on a different, more modern vehicle if possible.
-
Advanced Debugging (If Necessary):
- Logic Analyzer/Oscilloscope: If you have access to a logic analyzer or oscilloscope, this is invaluable. Probe the CANH and CANL lines at the OBD2 port while the car engine is running. You should see CAN bus activity (signal transitions) if the car is transmitting data. If you see no activity, the problem is likely external to your STM32 setup (vehicle issue, OBD2 port problem).
Conclusion: Persistent Troubleshooting Leads to CAN Data
Getting your STM32 OBD2 interface working can require patience and systematic troubleshooting. By carefully reviewing your hardware connections, CAN configuration, and code, and by following the steps outlined in this guide, you significantly increase your chances of successfully reading CAN data from your vehicle. Remember to prioritize the 120-ohm termination resistor and correct buffer sizes in your code. With persistence, you’ll soon be decoding your car’s CAN bus and unlocking a wealth of automotive data for your projects.