Experiencing limp mode and a flashing check engine light on your UD 1400 can be frustrating, especially when faced with limited information and support. Like many UD truck owners, I encountered turbo actuator problems and struggled to find clear solutions. If you’re dealing with similar issues, or simply need to perform diagnostics and are wondering, Where Is The Obd2 Connector On A 2000 Ud 1400, this guide combines my hard-earned experience with essential information to get you back on the road.
My journey started with a perplexing code 35, indicating a turbo actuator malfunction on my 2007 UD 1400 Vortex H.A.T. The Hino dealer’s repair timeline was simply not feasible, pushing me to investigate a DIY fix. Hoping to save time and money, I decided to tackle the problem myself over a weekend.
Initial Diagnosis and a Temporary Fix
My first step was to visually inspect the turbo actuator. Enlisting the help of my 6-year-old son to cycle the ignition key (without starting the engine), I observed the actuator’s movement. It was moving, but weakly and easily stopped with just a finger. Closer inspection revealed a missing “C” clip on the push rod, causing binding due to misalignment.
A quick fix seemed possible. I removed the actuator, lightly sanded the contact surfaces, and reassembled it with high-temperature nickel grease and a new $.39 clip. Success! The truck was back in action.
Close-up view of the turbo actuator mechanism, highlighting potential areas of mechanical failure.
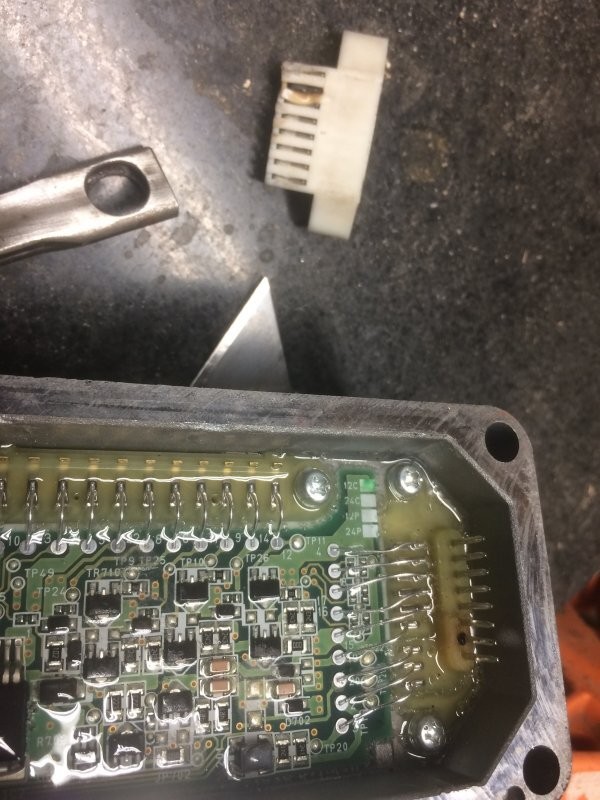
The Return of Code 35 and Deeper Investigation
Unfortunately, this repair was short-lived. Six months later, code 35 reappeared, plunging me back into troubleshooting. Another weekend, another round of grease and determination. The “C” clip was still intact, and the grease was clean. Repeating the actuator cycling test with my son, the movement was minimal – barely half an inch – and easily stopped.
Recalling forum discussions suggesting actuator issues were more common than turbo failures themselves, I decided to delve inside the actuator. Upon removal and disassembly, a burned pin on the internal connector was evident, indicating excessive electrical current without proper function. Dielectric grease was applied after cleaning the pins.
The Real Culprit: Motor Armature Failure
Moving on to the electric motor within the actuator, I found it incredibly stiff, barely movable even with pliers. This prompted me to open the motor itself, revealing the true source of the problem: metal shavings. The motor armature was rubbing against the internal magnets, generating magnetic metallic debris that jammed the motor.
Disassembled turbo actuator motor, showing internal components and potential wear points.
Cleaning and Reassembly – A Lasting Solution
After thoroughly cleaning the metal shavings, I reassembled the motor, unsure about specific alignment or gear positioning. It turned out, no specific positioning was needed, as the engine computer seemed to adapt to the actuator’s parameters.
Reinstalling everything and testing the actuator again revealed a significant improvement. The movement was strong and could not be stopped by hand – a stark contrast to before. Since this repair, over a year and a half has passed without any recurrence of the issue.
Close-up of the turbo actuator motor armature, highlighting the area where metal shavings accumulated and caused malfunction.
Finding Your OBD2 Connector for Diagnostics
While this experience focused on a mechanical issue, diagnosing modern trucks often starts with reading error codes via the OBD2 port. For those wondering where is the OBD2 connector on a 2000 UD 1400, it’s typically located within the cabin. While specific placement can vary, common locations include:
- Under the dashboard: Check beneath the steering column or glove compartment. Look for a trapezoid-shaped, 16-pin connector.
- Center console area: Sometimes, it’s found near the gear shifter or in the center console.
- Driver’s side footwell: Inspect the area to the left of the pedals.
Consult your UD 1400 owner’s manual for the precise location of the OBD2 connector. Once located, you can use an OBD2 scanner to read diagnostic trouble codes, which can provide valuable insights into issues like engine problems, transmission faults, and yes, even turbo system malfunctions.
Example of a typical OBD2 connector, commonly found in vehicles for diagnostic purposes.
Conclusion: DIY Turbo Actuator Repair and OBD2 Importance
Troubleshooting issues on UD trucks can be challenging due to limited resources. Hopefully, this account of diagnosing and repairing a turbo actuator provides valuable guidance. Remember, starting with basic checks and progressively investigating deeper can lead to successful DIY repairs. Furthermore, understanding where is the OBD2 connector on your 2000 UD 1400 is crucial for accessing diagnostic information, which is the first step in resolving many vehicle problems. Equipping yourself with this knowledge and a bit of mechanical aptitude can save you time and money, keeping your UD 1400 running smoothly.
The repaired turbo actuator, successfully reinstalled and functioning correctly after cleaning and reassembly.